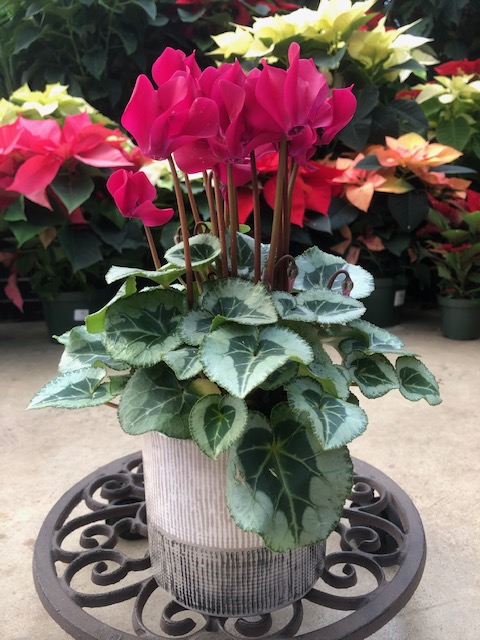
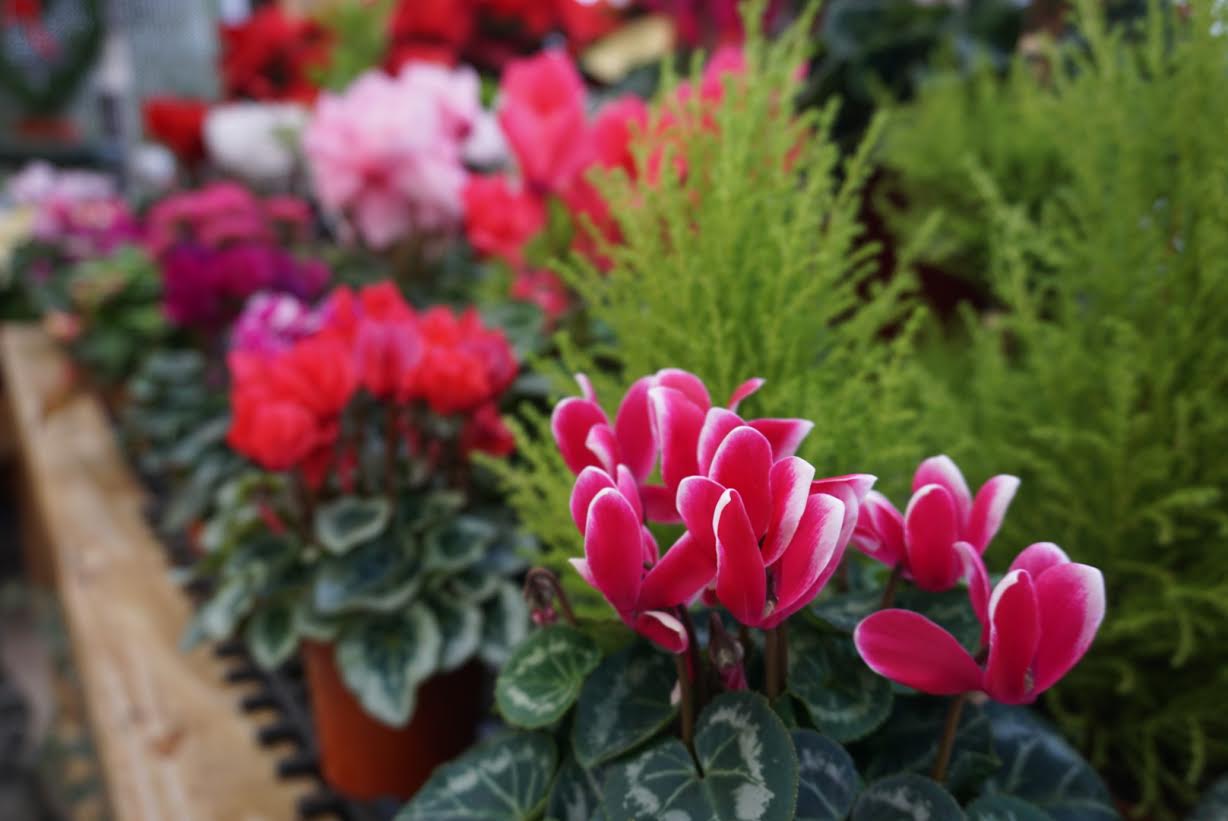
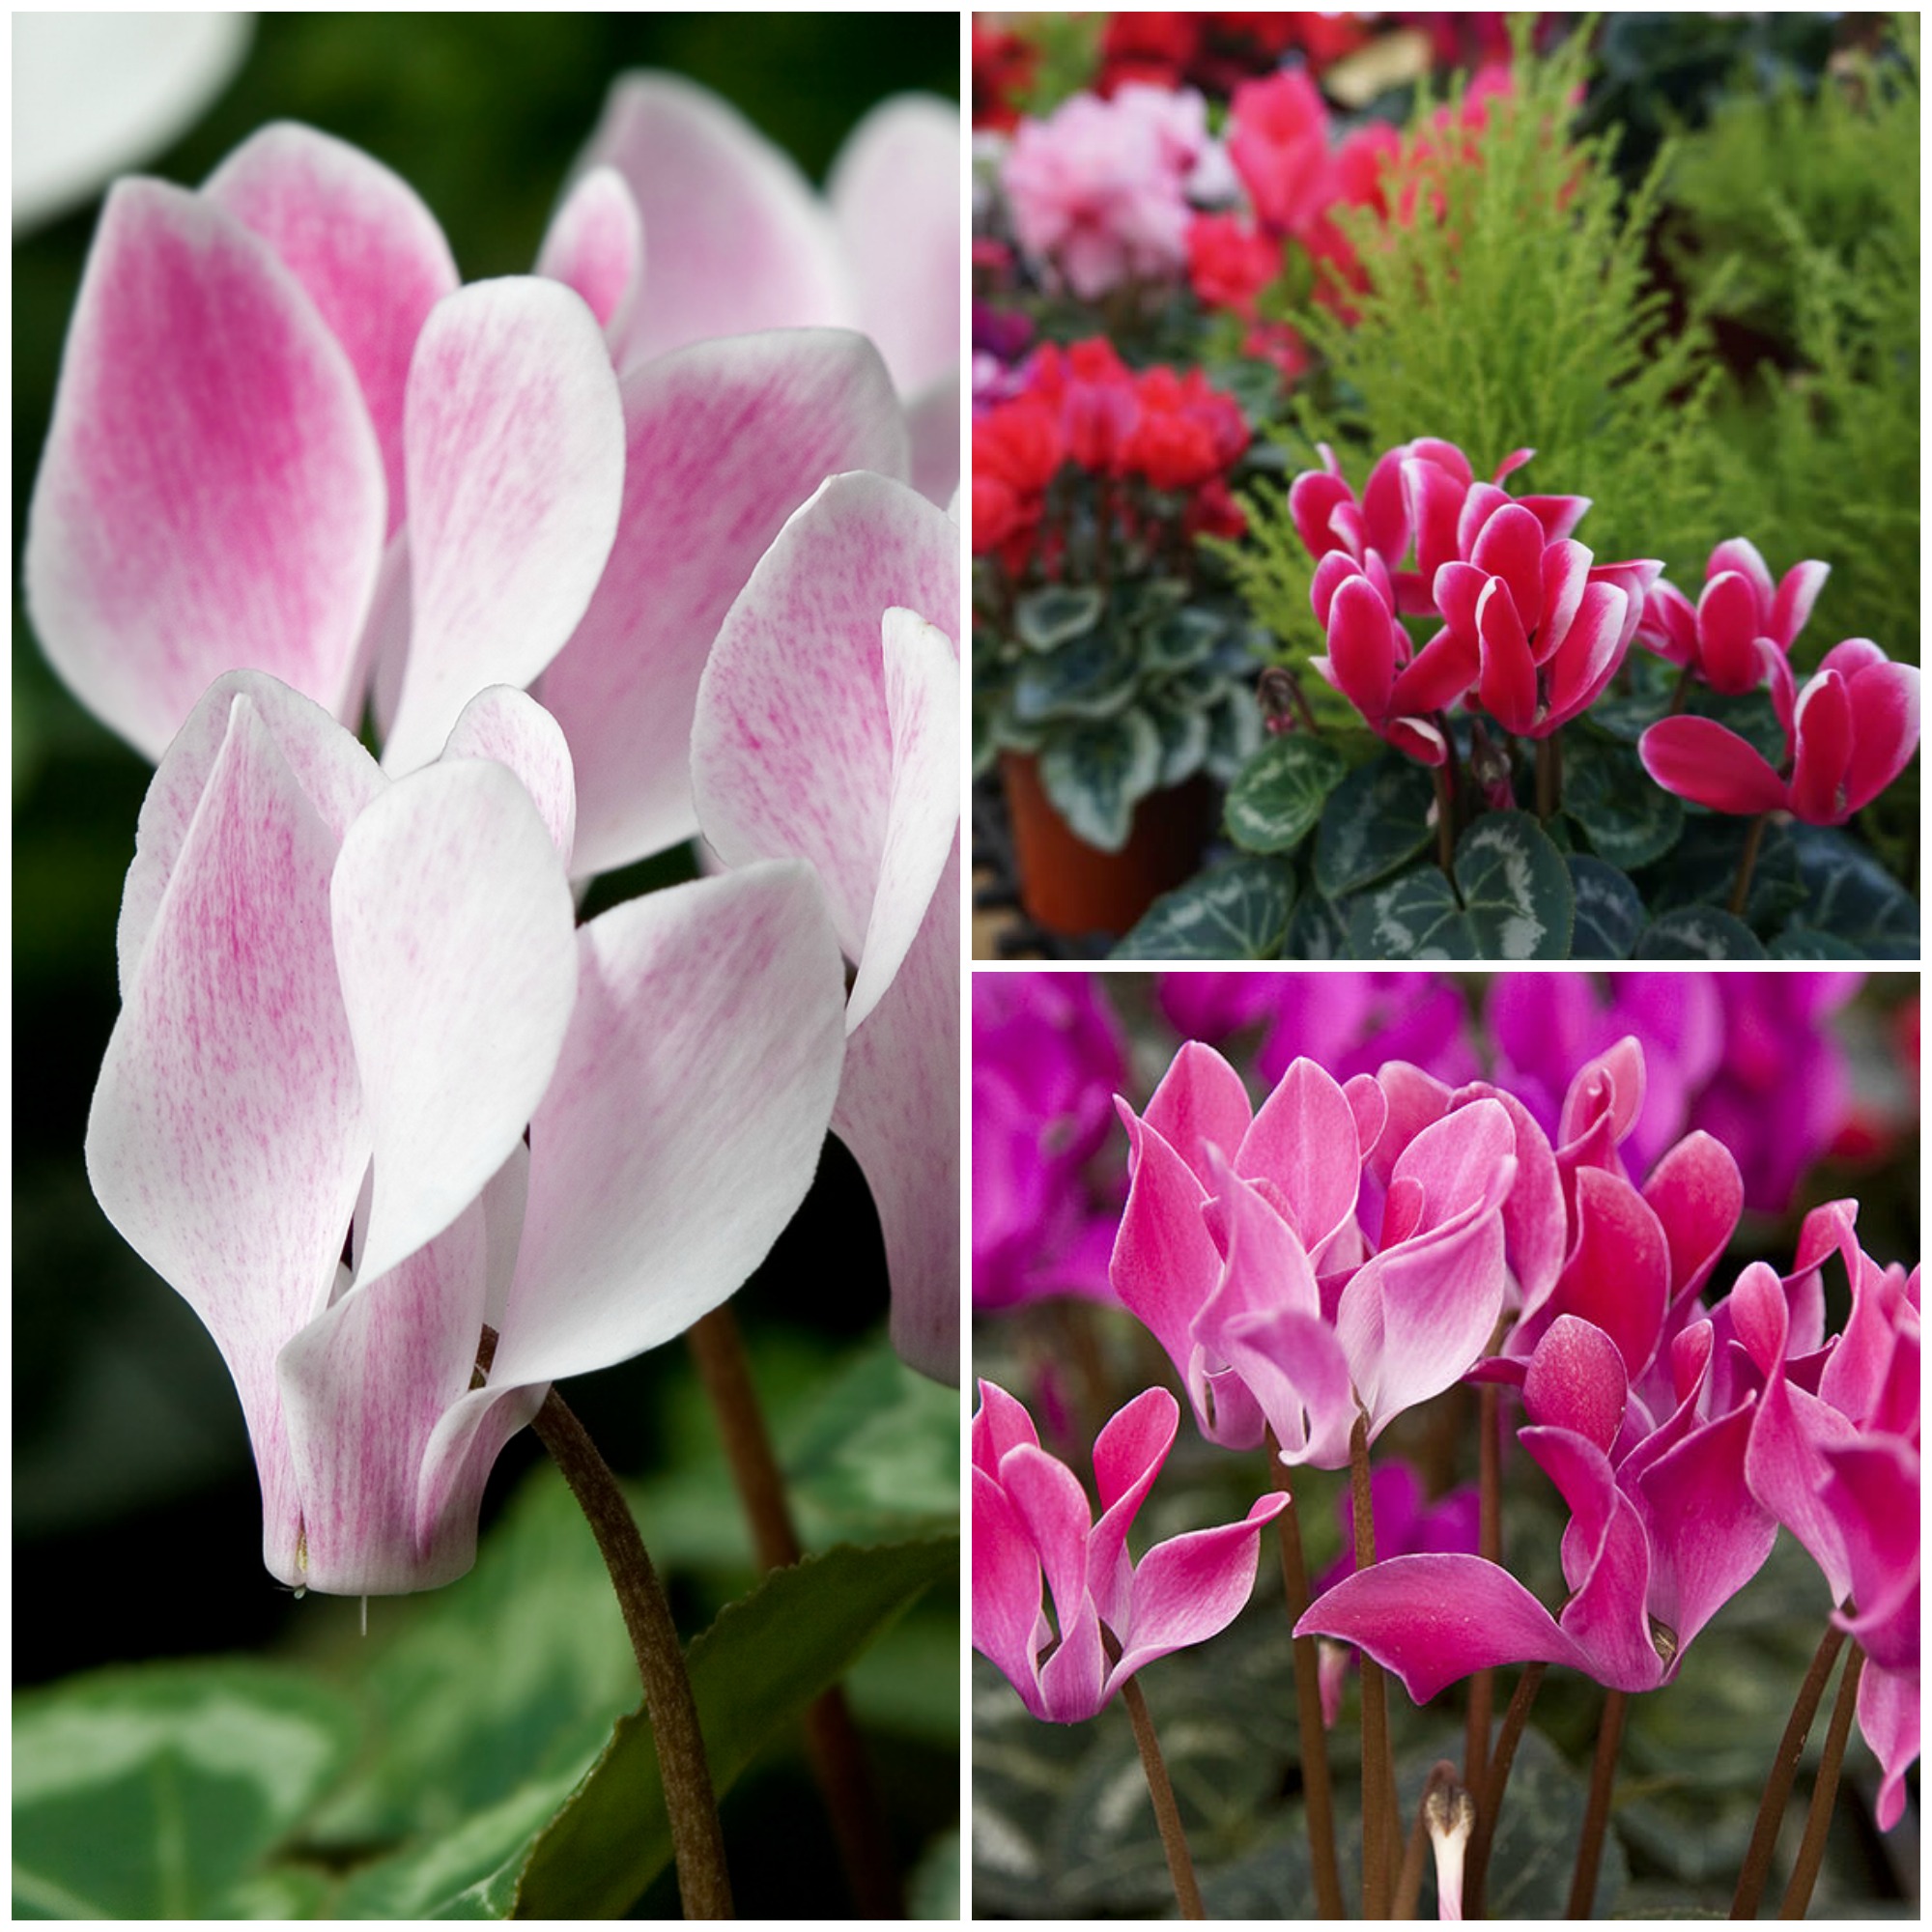
 Cyclamen are one of the most beautiful and best winter bloomers. Over the years, growers have come up with many new hybrids for us to enjoy. Some have ruffled flowers, and some varieties are miniature, but all maintain a large bright flower, usually in red, pinks, maroons and white. All Cyclamen display green or variegated heart shaped leaves.
Cyclamen are a great indoor plant – easy 8 weeks plus of color.
One of the reasons our Cyclamen last as long as they do is that we build up the base of the plant first. Proper variety selection, culture and nutrition will allow the plant to grow a lot of leaves – and with Cyclamen, leaves = flowers. If you gently push apart the leaves on one of our Cyclamen you will see lots of buds coming up from the center. You can also move a Cyclamen outside in April – the plant will take a freeze, but you should be careful to acclimate the plant so the change isn’t too great, both from a temperature and sunlight perspective.
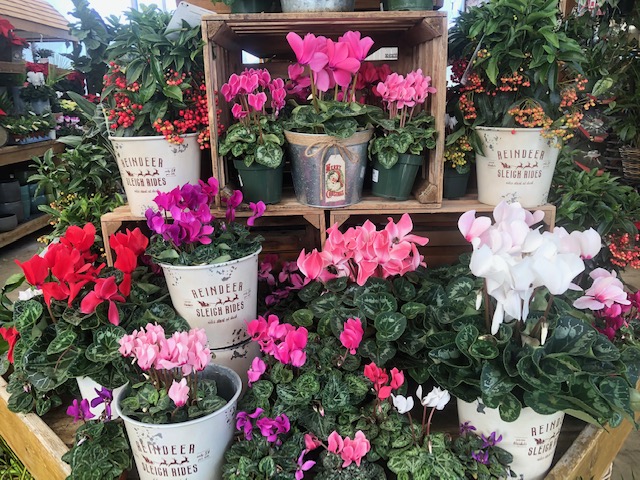
Cyclamen are actually a type of bulb or more specifically a Corm (a short, thickened vertical stem). Their native habitat is the Mediterranean and Southern Europe. In your home, Cyclamen like to be a little on the cooler side with temperatures around 61˚F and in direct light or bright indirect light.
While in bloom, keep the root ball moist and feed the plant every two weeks. Cyclamen should be kept moist by watering in a tray and allowing the roots to take up the water rather than watering from above the plant which can lead to rotting. Remove yellow leaves and spent flowers.
When cyclamen are done blooming they can be discarded or the corm can be saved. After the foliage dies back, the plant should be left to dry. The corm should then be dug and repotted in midsummer and placed in a warm place so it can establish roots before returning it to a cool 55 – 60˚ F. to encourage flowering.
Light
Give cyclamen bright, indirect light in the winter when they are actively growing. In summer, it is best to keep cyclamen in a cool, dark spot with good air circulation. You can also move it to a shady spot outdoors in summer. Just make certain it is not getting too much water.
Soil
Cyclamen persicum does best when planted in a soilless-based potting mix, with the top of the tuber just slightly above the soil line.
Water
When leaves are present, the plant is actively growing. Water whenever the soil feels dry about an inch below the surface. Avoid getting water on the crown of the plant, which could cause it to rot.
As the flowers begin to fade, gradually allow the plant to dry out for two to three months. It is going into a dormant stage, and any excess water will cause the tuber to rot. If you put it outdoors during dormancy, be sure to turn the pot on its side to keep the rain out. A little water is not harmful, but you don’t want the soil to remain wet.
Temperature and Humidity
Cyclamen do not like extreme heat, drafts, or dry air. They do best in a climate that replicates their native environment, between 50 degrees Fahrenheit and the mid-60s. High humidity, especially during winter, is crucial. Keep the cyclamen on a tray of water with a layer of pebbles or gravel to form a shelf for the cyclamen pot to sit on. Do not let the bottom of the cyclamen pot sit submerged in the water or the roots will rot.
If you moved your plant outdoors for the summer, bring it back indoors before the weather turns cold. A good rule of thumb is to bring it inside while the temperature is still comfortable for you with the windows open.
Fertilizer
Feed your cyclamen plant with a diluted liquid low-nitrogen fertilizer and high in phosphorus every couple of weeks while in full leaf. You do not need to fertilize cyclamen while it is dormant.
Potting and Repotting
Cyclamen should be repotted every two years. You can re-pot while the plant is dormant, in the summer, with fresh soil and a slightly larger pot.
- Fill the new container part way with potting soil.
- Lift the tuber out of the original pot and brush off the old soil, but don’t rinse it. Place the tuber in the new pot so that its top is about one inch from the rim. Cover it halfway with potting soil.
- Place the pot in a shady, dry spot for the rest of the summer. Start watering it around September and you should start to see new growth emerging.
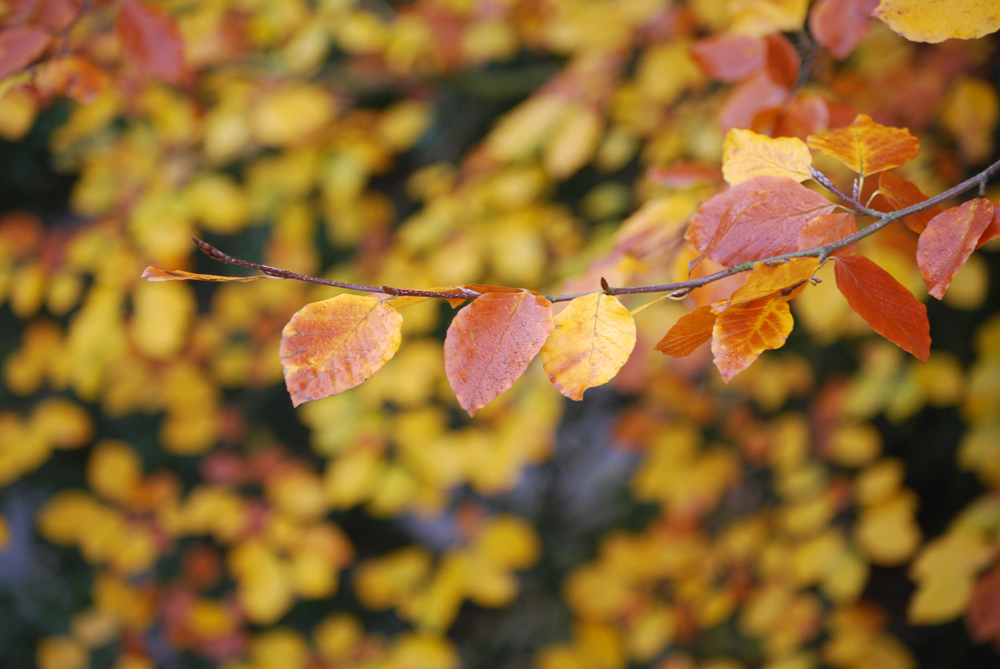 If the hot, sweaty weather isn’t for you, try gardening in the fall. The crisp, cool air makes for an enjoyable, leisurely experience working in the garden. P.S. the plants love it too, the warm soil from summer encourages lots of root growth.
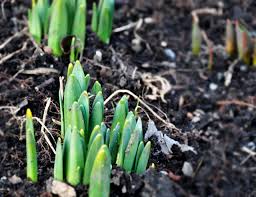
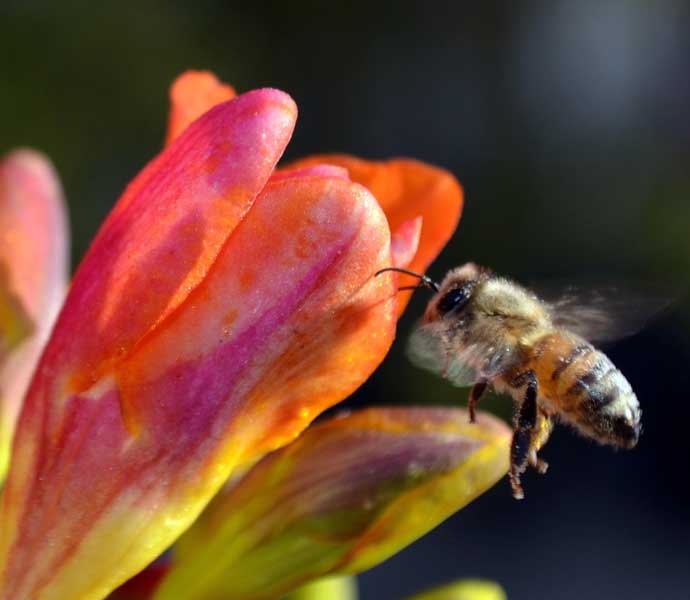 With earlier blooms comes earlier nectar sources for pollinators, who struggle to find food at the end and beginning of gardening season. Anytime you can provide early-spring (and autumn) food supply for birds, bees, and butterflies, you’ll be doing your part to protect the human food supply! We rely on pollinators to help us put food on our own dinner tables!
 When most fall bulbs are blooming, perennials are in their dormant stage. As the bulb nears the end of its bloom time, the perennial will start to grow, and subsequently cover the bulb tops when the bloom is gone. It also saves time by digging a hole once and getting 2 seasons of color.



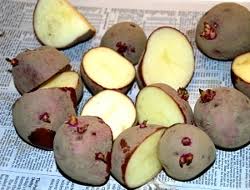 sun, such as a kitchen window sill for one to two weeks. This will induce sprouting to make it easier in the following steps.

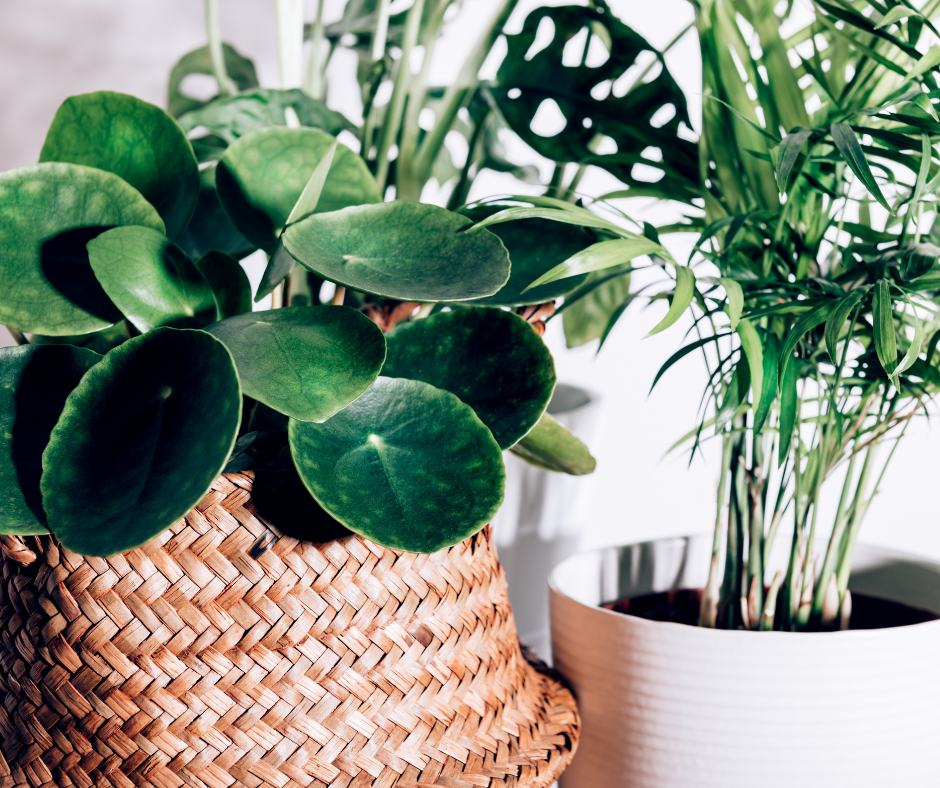 Give life (literally) to a bare wall, empty table or dull corner in your home. Easy to care for houseplants are the most stylish home accessory splashed across pages of design publications, blogs and Pinterest! Forget the dusty, artificial Ficus tree or droopy hanging plant at grandma’s house. Houseplants are on trend and an easy way to add high style to your home.
 are lots of varieties of calathea, but one of the most common has luscious, dark green leaves that have scalloped edges and silver brushmarks on the top of the leaves. Underneath, the leaves are a lovely shade of burgundy purple. Each one is a living work of art! Grow calathea in medium to low light. This beautiful tropical doesn’t like much sun on its leaves, so shield it from direct light to prevent sunburn. Water calathea enough to keep it moist, but not wet or saturated.
 favorite — because of how adaptable it is to a wide range of growing conditions. Most snake plant varieties have stiff, upright, sword-like leaves that may be banded or edged in gray, silver, or gold. Snake plant’s architectural nature makes it a natural choice for modern and contemporary interior designs. It’s one of the best houseplants around! Place in low light to full sun and let dry between watering.
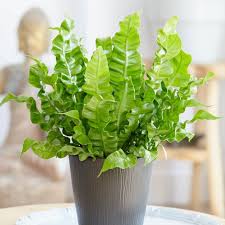 can outlive almost any other potted plant. If you tend to this low maintenance plant properly, it will keep your air naturally clean for a very long time. Place it in medium to low light and never let it dry out!
 Cyclamen are one of the most beautiful and best winter bloomers. Over the years, growers have come up with many new hybrids for us to enjoy. Some have ruffled flowers, and some varieties are miniature, but all maintain a large bright flower, usually in red, pinks, maroons and white. All Cyclamen display green or variegated heart shaped leaves.


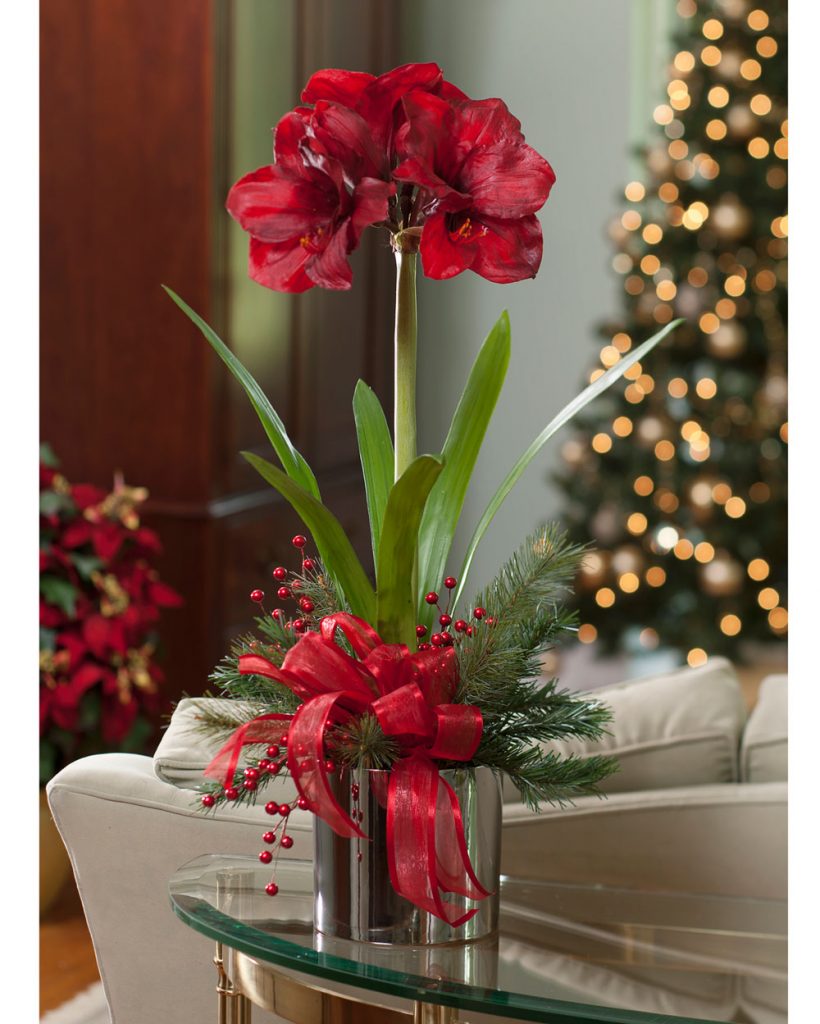
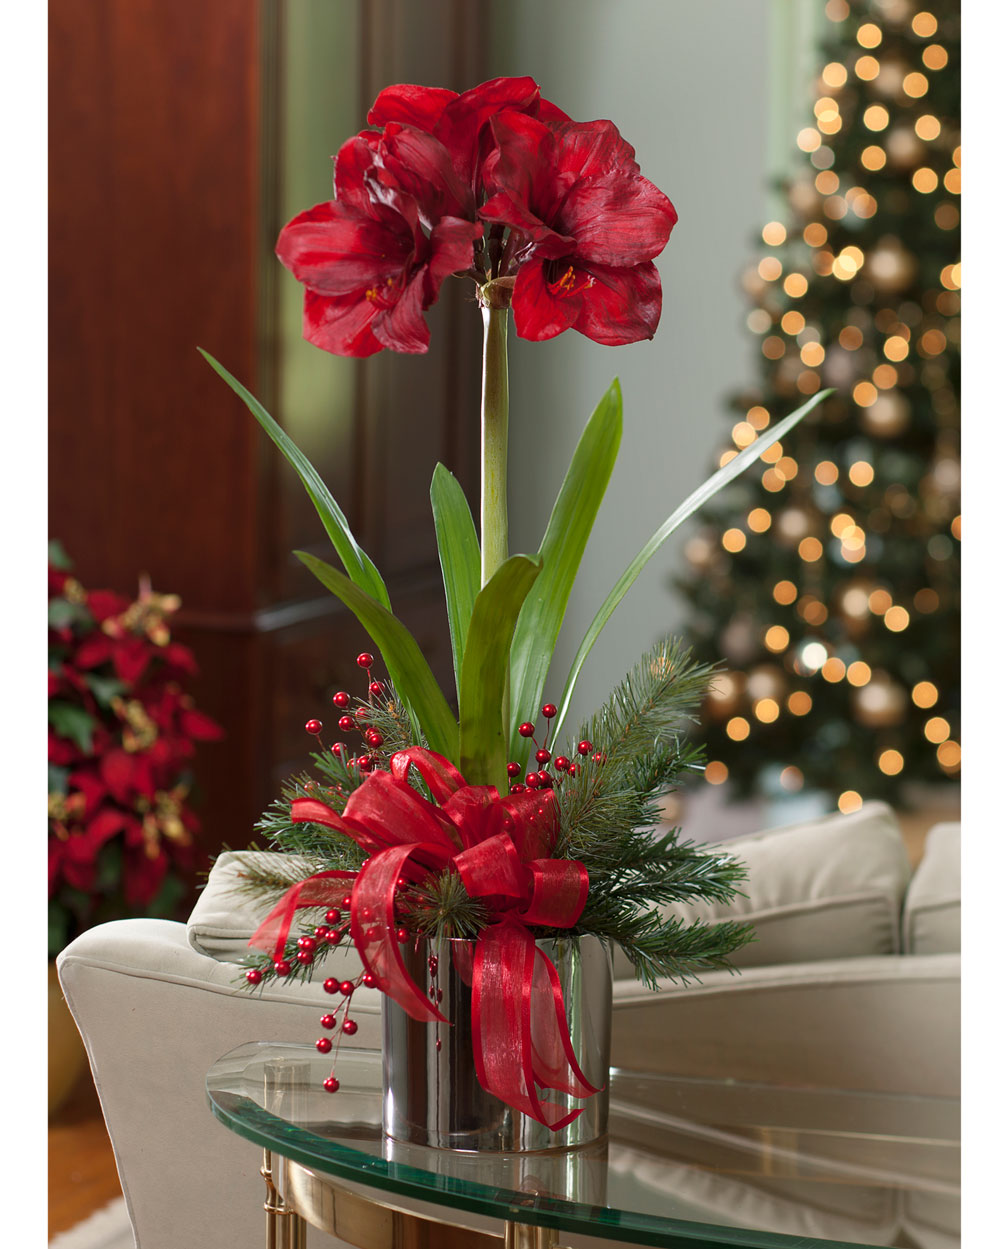 flower bulbs, amaryllis use their leaves to produce energy for next year’s flowers. Give the plant plenty of bright light to help it build up its reserves. Grow your amaryllis indoors during winter and spring. After danger of frost, you can move it outside for the summer.