Author Archives: Jessica Snell

10 Tips – April Gardening Tasks

April Gardening Tasks: Cultivating Beauty in Your Landscape

As April unfolds and the warmth of spring permeates the air, gardeners everywhere eagerly anticipate the opportunity to breathe new life into their landscapes. It’s a time of renewal, growth, and boundless possibilities. Whether you’re a seasoned gardener or just beginning your journey into the world of horticulture, April offers a wealth of opportunities to cultivate beauty in your yard. Here are some essential gardening tasks to keep your landscape vibrant and thriving this season:

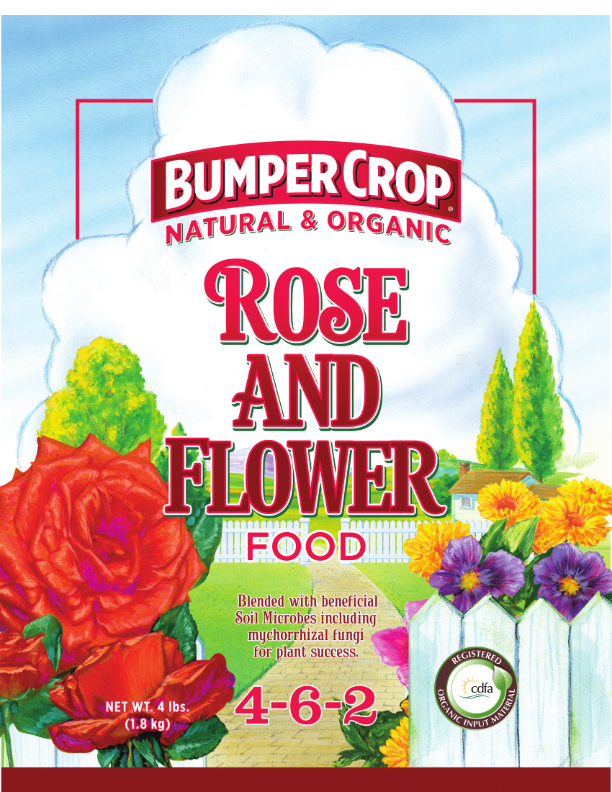
  1. Prepare the Soil:Before diving into planting, take the time to prepare your soil for optimal growth. Turn over the soil in your garden beds to aerate it, remove any weeds or debris, and amend it with compost such as Bumper Crop to enrich its nutrients. Healthy soil is the foundation for a successful garden.
  2. Plant Cool-Season Vegetables & Early Spring Perennials:April is the perfect time to sow seeds or transplant seedlings of cool-season vegetables such as lettuce, spinach, kale, carrots, and peas. These crops thrive in the mild temperatures of spring and will provide you with a bountiful harvest before the heat of summer sets in. Certain perennials are only available in early spring be sure you don’t miss out on theses spring beauties: Hellebores, Creeping Phlox, Columbine and Candytuft to name a few.
  3. Fertilization:Provide your plants with a nutritional boost by applying a balanced fertilizer as they begin their spring growth spurt. Choose a fertilizer formulation appropriate for your specific plants and follow the instructions for application rates and timing. A slow-release or organic fertilizer can provide a steady supply of nutrients over time, promoting healthy development without risk of burning or leaching.
  4. 4. Prune and Trim:Spring is the ideal time to prune most summer flowering trees, shrubs, and perennials to promote healthy growth and shape their form. Remove dead or diseased branches, as well as any crossing or crowded stems. Trim back overgrown hedges and tidy up any unruly growth to maintain a neat and well-manicured landscape.
  5. Divide Perennials:If your perennial plants have become overcrowded or are showing signs of decline, now is the time to divide them. Carefully dig up clumps of perennials and separate them into smaller sections, making sure each division has roots and healthy foliage. Replant them in well-prepared soil and watch them thrive.
  6. Weeding: April is prime time for tackling weeds before they have a chance to take over your lawn and garden. Take a proactive approach to weed control by regularly inspecting your lawn and garden beds for any signs of weeds and promptly removing them before they can spread and become established. Use a hand tool, such as a garden trowel or weeding fork, to dig out weeds from the root, taking care to remove as much of the root system as possible to prevent regrowth. Consider using organic mulches, such as shredded pine bark, to suppress weed growth and conserve soil moisture in garden beds.
  7. Mulching: Apply a layer of mulch to garden beds to help retain moisture, suppress weeds, and regulate soil temperature. Organic mulches such as Pine Bark Mulch has all the benefits but also contribute to the overall aesthetics of your landscape. Take the opportunity to pull out any emerging weeds before they have a chance to establish themselves.
  8. Plan and Design:Take advantage of the slower pace of early spring to plan and design new areas of your landscape or revitalize existing ones. Consider adding features such as flower beds, pathways, or seating areas to enhance the beauty and functionality of your outdoor space. Experiment with different plant combinations and color schemes to create visual interest throughout the season.
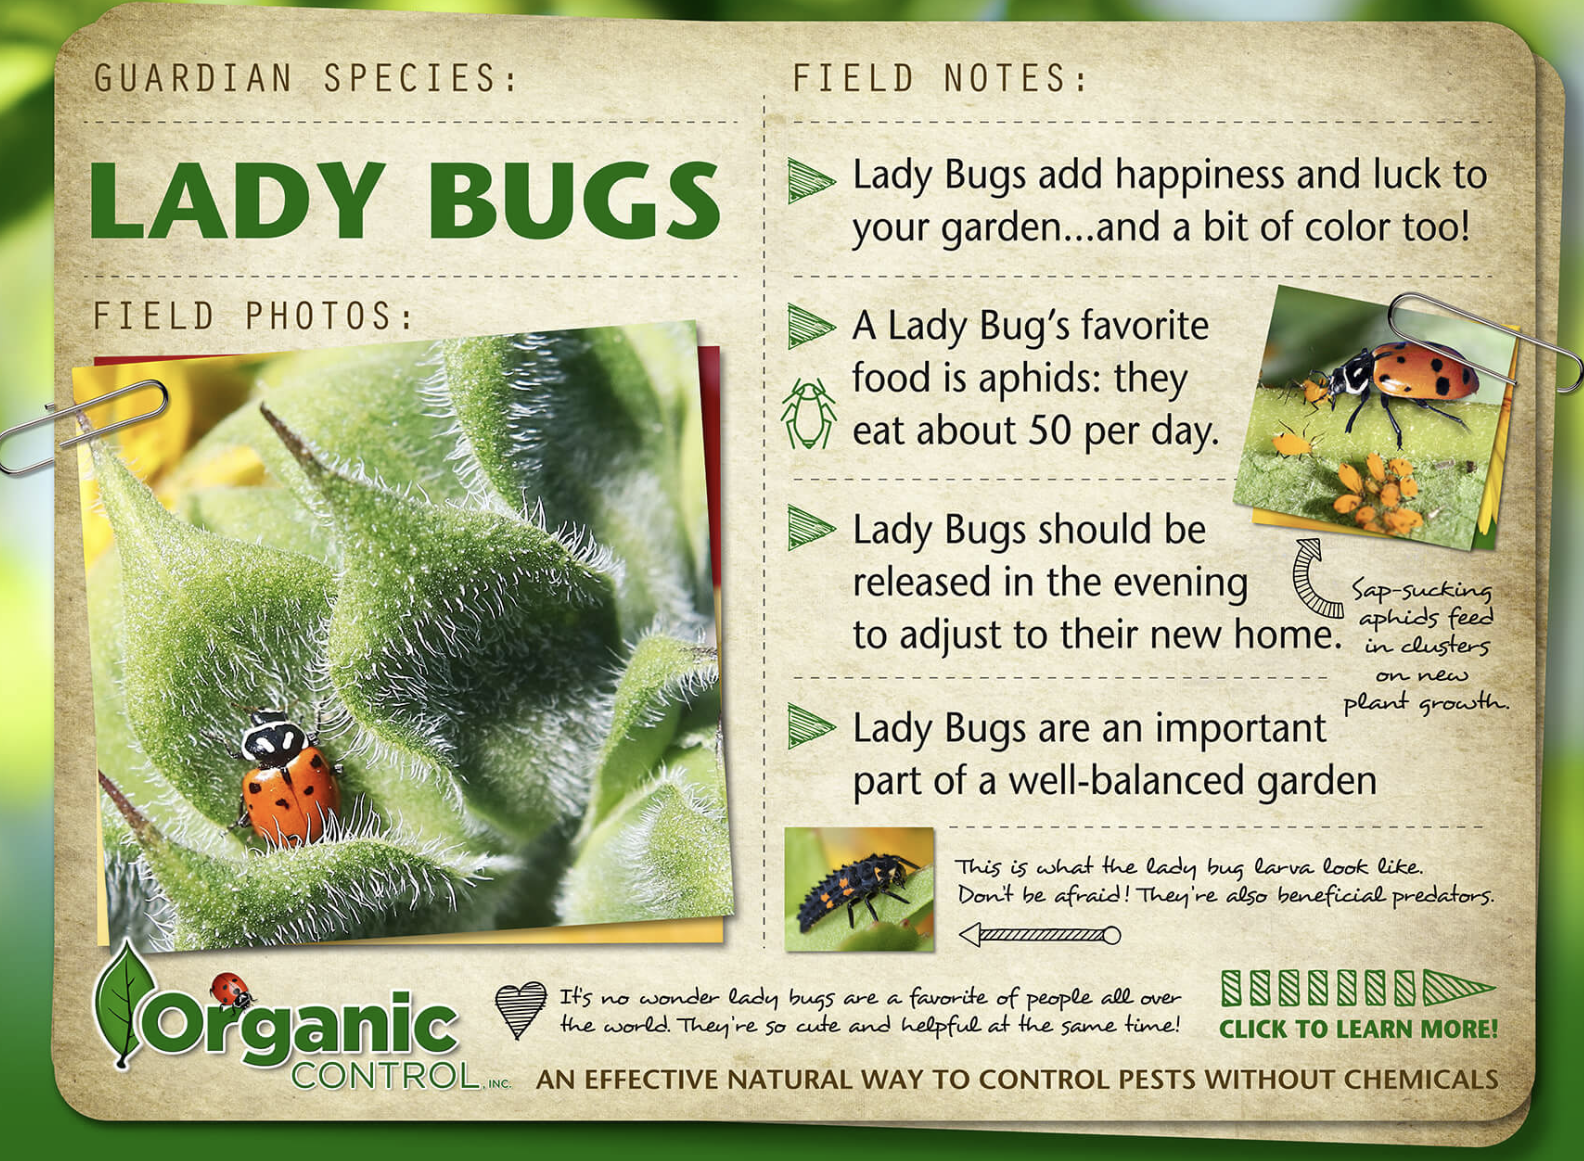
  9. Wildlife Habitat Enhancement:Create a welcoming habitat for beneficial wildlife in your garden by incorporating native plants, providing water sources, and creating sheltering areas. Native plants not only support local pollinators and wildlife but also require less maintenance and water once established. Consider adding bird feeders, nesting boxes, or bat houses to attract and support a diverse array of wildlife. You can even set up Beneficial bug houses to encourage an array of pollinators. Don’t forget to place out Hummingbird feeders around the middle of April to ensure migrating Hummingbirds have a source of food. By fostering a healthy ecosystem in your garden, you’ll not only enjoy the beauty of nature but also contribute to conservation efforts and biodiversity.
  10. Seasonal Cleanup:Take advantage of mild April weather to tackle seasonal cleanup tasks and prepare your garden for the growing season ahead. Remove any remaining debris, dead foliage, or overwintering pests to prevent potential disease problems and promote good air circulation. Prune back spent flower stalks, trim back overgrown shrubs, and tidy up garden beds to create a clean and organized landscape. By starting the season with a clean slate, you’ll set the stage for a successful and productive growing season.

April is a time of growth, renewal, and endless possibilities in the garden. By tackling these essential gardening tasks, you can ensure that your landscape remains beautiful and vibrant throughout the spring and beyond. Embrace the joys of gardening, connect with nature, and watch as your efforts blossom into a flourishing oasis of greenery and color.

The Timeless Elegance of Camellias

The Timeless Elegance of Camellias: Why Every Yard Deserves a Touch of Grace

In the realm of ornamental shrubs, few possess the timeless allure and understated elegance of the camellia. With their glossy evergreen foliage and exquisite blooms, camellias effortlessly infuse any yard with a sense of grace and sophistication. Whether adorning a formal garden or lending a touch of beauty to a casual landscape, these beloved shrubs hold a special place in the hearts of gardeners and nature enthusiasts alike.

At the heart of the camellia’s appeal lies its enchanting blossoms, which unfurl in a breathtaking display of color and form. From the classic purity of white to the rich depths of crimson and every shade in between, camellia flowers captivate the eye with their sheer diversity and beauty. Whether single or double-petaled, their symmetrical blooms exude a sense of harmony and balance, drawing admirers near with their irresistible charm.

Beyond their aesthetic allure, camellias offer a wealth of practical benefits that make them a valuable addition to any yard. As evergreen shrubs, they provide year-round interest, maintaining their glossy green foliage even in the depths of winter when other plants lie dormant. This enduring presence lends structure and stability to garden compositions, anchoring the landscape with their reliable presence.

Camellias are also remarkably versatile in their landscaping applications, adapting to a wide range of garden styles and settings. Whether planted as standalone specimens, used as hedging or screening, or incorporated into mixed borders, these adaptable shrubs excel in any role they’re given. Their compact growth habit makes them well-suited to both small and large yards, offering flexibility in design and layout.

Moreover, camellias are relatively low-maintenance plants, requiring minimal care once established. They thrive in well-drained, acidic soil and prefer partial shade to protect their delicate blooms from scorching sun. With regular watering and occasional fertilization, camellias will reward gardeners with an abundance of flowers year after year, becoming cherished focal points in the garden landscape.

Perhaps most importantly, camellias possess a timeless elegance that transcends fleeting trends and fads. Their presence evokes a sense of tradition and refinement, harkening back to a bygone era of formal gardens and genteel living. Whether nestled beneath the canopy of ancient trees or gracing the manicured lawns of grand estates, camellias embody a sense of enduring beauty that enriches the soul and uplifts the spirit.

In conclusion, the allure of camellias lies not only in their exquisite beauty but also in the sense of grace and elegance they impart to any yard fortunate enough to host them. From their captivating blooms to their enduring presence, these beloved shrubs enrich our lives in countless ways, reminding us of the timeless wonders of the natural world. With a camellia in your yard, you invite a touch of elegance into your outdoor space, transforming it into a haven of beauty and tranquility for generations to come.


Cultivating Columbine

Columbines, with their delicate blooms and graceful foliage, are enchanting additions to any garden. As versatile perennials, they thrive in various climates and soil conditions, making them accessible to gardeners of all skill levels. This comprehensive guide will provide you with essential tips and insights to successfully grow and care for columbines in your garden.

  1. Optimal Growing Conditions: Columbines thrive in partial shade to full sun, although they prefer cooler temperatures in warmer climates. Choose a location with well-drained soil rich in organic matter. Avoid areas prone to waterlogging, as excessive moisture can lead to root rot. If your soil is heavy or compacted, amend it with compost or peat moss to improve drainage.
  2. Planting: Plant columbine in early spring or fall, allowing them to establish before the heat of summer or the cold of winter. Space plants 12-18 inches apart to provide ample room for growth. Dig a hole slightly larger than the root ball and backfill with enriched soil, ensuring the crown of the plant sits at ground level. Make sure you soil is not heavy by mixing Pine Fines Mulch and Bumper Crop Compost in the hole.
  3. Watering: Columbines have moderate water needs and prefer consistently moist soil. Water newly planted columbines regularly to help them establish a strong root system. Once established, water deeply but infrequently, allowing the soil to dry out slightly between waterings. Avoid overhead watering, as wet foliage can promote fungal diseases. Mulching around plants helps retain soil moisture and suppress weeds.
  4. Fertilizing: Columbines are not heavy feeders, but they benefit from occasional fertilization to promote healthy growth and abundant blooms. Apply Flower-Tone in early spring. Avoid high-nitrogen fertilizers, as they may encourage lush foliage at the expense of flowers.
  5. Pruning and Deadheading: To encourage prolonged blooming and maintain a tidy appearance, deadhead spent flowers regularly throughout the growing season. Use clean, sharp pruners to snip off faded blooms at their base. In late fall or early spring, prune back any dead or damaged foliage to promote new growth and prevent disease.
  6. Pest and Disease Management: Columbines are relatively pest and disease-resistant, but they may occasionally attract aphids, caterpillars, or fungal infections such as powdery mildew. Monitor plants regularly for signs of pests or disease, and promptly treat any issues with organic insecticidal soap or fungicides if necessary. Proper spacing, good air circulation, and avoiding overhead watering can help prevent common problems.
  7. Division and Propagation: Every few years, divide mature columbine clumps to rejuvenate overcrowded plants and promote vigor. Dig up the entire clump in early spring or fall, then carefully separate the individual crowns, ensuring each division has healthy roots attached. Replant divisions in prepared soil and water thoroughly. Columbines can also be propagated from seed, which should be collected from ripe seed pods in late summer and sown in fall or early spring.

With their exquisite beauty and easy-going nature, columbines are a joy to grow in any garden. By following these simple guidelines for cultivation and care, you can enjoy a profusion of charming blooms year after year, adding a touch of grace and elegance to your outdoor spaces. Happy gardening!

Enchanting Columbine

Exploring the Enchanting Perennial Columbine: Benefits and Beauty

In the enchanting world of gardens, few flowers captivate the imagination quite like the perennial columbine. With its delicate, bell-shaped blooms and an array of vibrant colors, columbines add a touch of whimsy and elegance to any landscape. Beyond their aesthetic appeal, these charming flowers offer a plethora of benefits, making them a favorite among gardeners and nature enthusiasts alike.

Diversity in Beauty: One of the most alluring aspects of perennial columbines is their diversity in appearance. Available in a spectrum of colors including shades of blue, purple, pink, yellow, and white, columbines offer endless possibilities for creating visually stunning gardens. Their unique flower shapes, resembling delicate lanterns or spurred cups, add an element of intrigue and charm to any floral display.

Easy to Grow: Despite their delicate appearance, perennial columbines are surprisingly resilient and easy to grow. They thrive in well-drained soil and partial shade, making them adaptable to various garden conditions. Additionally, columbines are relatively low-maintenance plants, requiring minimal care once established. With proper attention to watering and occasional fertilization, these hardy perennials will reward gardeners with bountiful blooms year after year.

Attracts Pollinators: Columbines are not only a delight to the eyes but also a boon to pollinators such as bees, butterflies, and hummingbirds. The nectar-rich flowers serve as an important food source for these beneficial insects, aiding in pollination and promoting biodiversity in the garden. By cultivating columbines, gardeners can play a role in supporting local ecosystems and fostering a healthy environment for pollinators.

Long Blooming Season: Another advantage of perennial columbines is their extended blooming season, which typically spans from late spring to early summer. This prolonged period of flowering ensures continuous interest in the garden, providing a steady supply of color and beauty throughout the warmer months. With proper deadheading of spent blooms, columbines may even rebloom later in the season, further prolonging their display.

Versatile in Landscaping: Whether used as focal points in flower beds, borders, or mixed with other perennials and annuals, columbines offer versatility in landscaping design. Their airy foliage and slender stems add texture and movement to garden compositions, while their varying heights make them suitable for both foreground and background plantings. Columbines also excel in container gardening, allowing urban dwellers and those with limited space to enjoy their enchanting blooms on patios and balconies.

Naturalizing and Self-Seeding: One of the joys of growing perennial columbines is their ability to naturalize and self-seed, forming charming colonies over time. Once established, columbines will readily spread through self-sowing, creating drifts of blossoms that evoke a sense of wild beauty. This naturalizing tendency makes them ideal for informal or cottage-style gardens, where their spontaneous growth adds an element of rustic charm.

The perennial columbine stands out as a beloved garden favorite, cherished for its beauty, resilience, and ecological benefits. From its diverse array of colors to its attraction of pollinators and long blooming season, columbines offer a multitude of reasons to incorporate them into garden landscapes. Whether adorning flower beds, attracting wildlife, or simply brightening up outdoor spaces, these enchanting flowers continue to captivate the hearts of gardeners around the world.


Great Companion Plants: Allium, Baptisia, Daylilies, Foxglove, Geranium, Heuchera, Iris, and Poppies

Lawn Care Guide

Focus on Lawn Care

April is an ideal time to give your lawn some much-needed attention after the winter months. Begin by raking away any remaining debris, such as leaves and twigs, to allow for better air circulation and prevent the growth of mold and fungus. Consider aerating your lawn to alleviate soil compaction and promote healthy root growth. If necessary, overseed bare or thin patches with a high-quality grass seed (Jonathan Green) variety and top-dress with a thin layer of compost to encourage germination. Finally, apply a professional grade fertilizer fo

Lawn Seeding:

April presents an excellent opportunity to seed or overseed your lawn to fill in bare patches, improve density, and enhance overall health. Before seeding, prepare the soil by raking away debris and loosening the top layer to create a suitable seedbed. Select a high-quality grass seed blend that matches your region and soil conditions, ensuring it contains varieties suitable for your lawn’s sun exposure and traffic levels. Spread the seed evenly over the prepared area using a broadcast spreader, then lightly rake the soil to cover the seeds and ensure good seed-to-soil contact. Water the newly seeded area regularly to keep the soil moist until the grass seedlings establish themselves and begin to grow.

Lawn Fertilization:

Proper fertilization is essential for maintaining a lush, healthy lawn throughout the growing season. In April, apply a balanced, slow-release fertilizer specifically formulated for lawns to provide essential nutrients and support vigorous growth. Look for a fertilizer with a nitrogen-phosphorus-potassium (N-P-K) ratio tailored to your lawn’s needs, typically indicated on the product packaging. Apply the fertilizer evenly using a broadcast or drop spreader, following the manufacturer’s recommended application rates and timing. Water the lawn thoroughly after fertilization to help activate the nutrients and promote uptake by the grass roots. Formulated for lawns to provide essential nutrients and support lush green growth.

Apply Preemergent:

To prevent the germination of weed seeds and reduce weed pressure in your lawn, consider applying a preemergent herbicide in early April. Preemergent herbicides form a barrier in the soil that inhibits the growth of weed seedlings, effectively preventing them from sprouting and establishing themselves in your lawn. Apply the herbicide evenly using a broadcast spreader, following the manufacturer’s recommended application rates and timing. Water the lawn lightly after application to activate the herbicide and ensure proper distribution.

By incorporating these April gardening tasks into your lawn care routine, you’ll set the stage for a healthy, vibrant lawn that enhances the beauty and enjoyment of your outdoor space throughout the spring and beyond. Embrace the opportunity to nurture your lawn and garden, and reap the rewards of your efforts as you create a landscape that thrives in the warm embrace of spring.

Cultivating Creeping Phlox

Introducing Creeping Phlox: The Perfect Ground Cover for Your Garden!

Are you looking for a stunning, low-maintenance ground cover to transform your garden? Look no further than Creeping Phlox! With its vibrant colors, easy care, and versatility, Creeping Phlox is a must-have for any garden enthusiast.

Benefits:

  1. Beautiful Blooms: Creeping Phlox boasts clusters of colorful flowers that bloom profusely in spring, creating a breathtaking carpet of color.
  2. Low Maintenance: Once established, Creeping Phlox requires minimal maintenance, making it ideal for busy gardeners.
  3. Drought Tolerant: Thriving in dry conditions, Creeping Phlox is perfect for gardens in need of a water-wise solution.
  4. Attracts Pollinators: Bees, butterflies, and other pollinators are drawn to the nectar-rich flowers of Creeping Phlox, making it an Eco-friendly choice.
  5. Erosion Control: With its dense, spreading growth habit, Creeping Phlox effectively prevents soil erosion on slopes and embankments.

Uses:

  • Ground Cover: Fill in bare spots in your garden with a lush carpet of Creeping Phlox.
  • Rock Gardens: Add a pop of color to rock gardens or alpine landscapes with Creeping Phlox.
  • Borders and Edges: Create defined borders or soften the edges of pathways with the trailing foliage of Creeping Phlox.
  • Containers: Plant Creeping Phlox in containers or hanging baskets for a cascading display of color on your patio or balcony.

Cultivation Tips:

  • Sunlight: Plant Creeping Phlox in a location with full sun to partial shade for optimal blooming.
  • Soil: Ensure well-drained soil with a neutral to slightly alkaline pH.
  • Watering: Water newly planted Creeping Phlox regularly until established, then water sparingly during dry spells.
  • Pruning: Trim back spent flowers after blooming to encourage a neat appearance and promote future growth.
  • Propagation: Easily propagate Creeping Phlox by division in spring or early fall.

Companion plants: Bulbs: Daffodils, Crocus, Tulips, Daylilles, Catmint, Coneflowers

Don’t miss out on the beauty and benefits of Creeping Phlox! Visit us today to add this versatile ground cover to your garden and watch it thrive year after year.

Creeping Phlox a Garden Marvel

Unveiling the Beauty of Creeping Phlox: A Garden Marvel

In the realm of garden wonders, few plants rival the sheer splendor and versatility of Creeping Phlox. With its cascading blooms and effortless charm, Creeping Phlox has earned its place as a beloved favorite among gardeners worldwide. Join us as we delve into the enchanting world of Creeping Phlox and uncover the secrets to incorporating this botanical gem into your outdoor sanctuary.

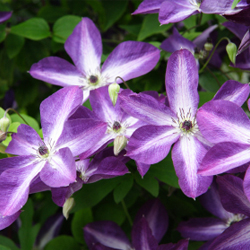
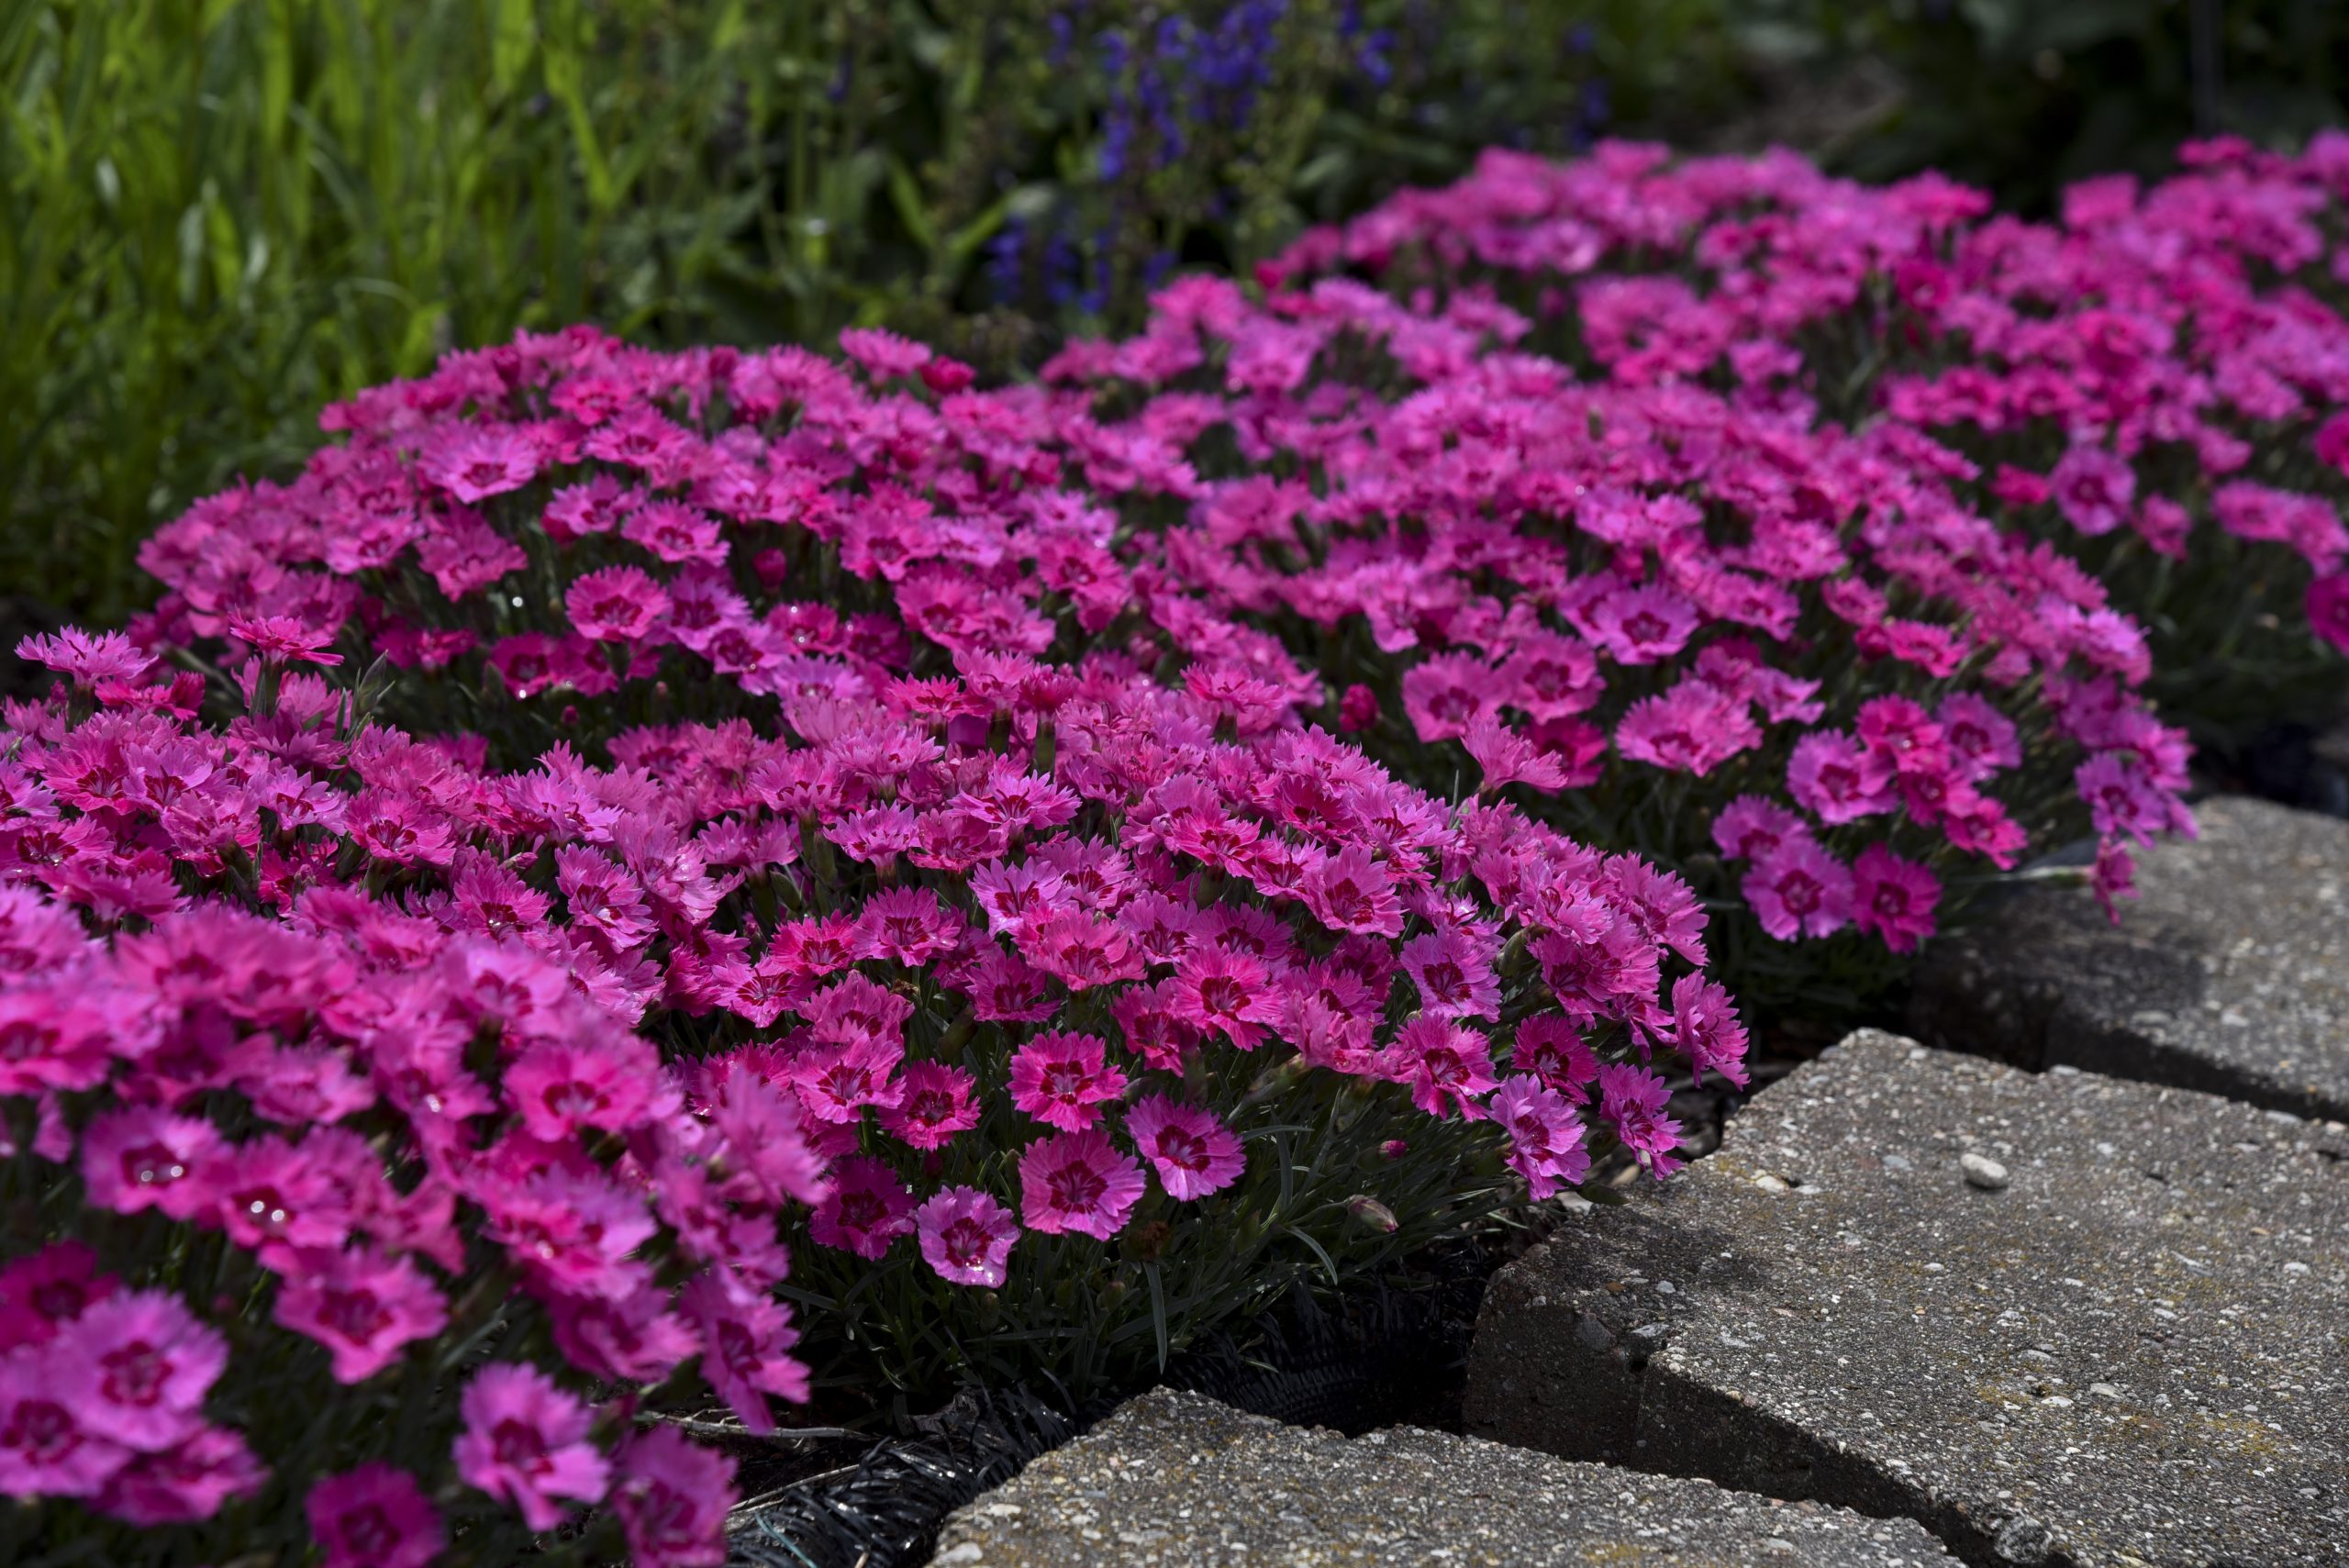
A Symphony of Color: One cannot help but be captivated by the breathtaking display of color offered by Creeping Phlox. From delicate shades of pink and lavender to vibrant hues of purple, blue, and white, these dainty flowers paint the landscape with a mesmerizing palette that heralds the arrival of spring. Whether spilling over rock walls, carpeting garden beds, or adorning containers, Creeping Phlox adds an irresistible allure to any setting.

Unmatched Versatility: One of the most remarkable attributes of Creeping Phlox is its unparalleled versatility. This hardy perennial thrives in a variety of conditions, from sunny garden borders to partly shaded woodland nooks. Whether utilized as a ground cover to suppress weeds and prevent erosion or as a captivating accent in rock gardens and alpine landscapes, Creeping Phlox adapts effortlessly to its surroundings, lending its ethereal beauty to any space.

Easy-Care Elegance: Gardeners rejoice in the low-maintenance nature of Creeping Phlox, which requires minimal fuss to thrive. Once established, this resilient plant demands little more than occasional watering and light pruning to maintain its vigor and charm. Drought-tolerant and resistant to pests and diseases, Creeping Phlox proves itself to be a resilient companion in the ever-changing tapestry of the garden landscape.

A Haven for Pollinators: Beyond its aesthetic appeal, Creeping Phlox plays a vital role in supporting pollinators such as bees, butterflies, and hummingbirds. The nectar-rich blooms of Creeping Phlox serve as an irresistible source of sustenance for these winged visitors, ensuring a thriving ecosystem teeming with life and vitality. By welcoming Creeping Phlox into your garden, you contribute to the preservation of biodiversity and the delicate balance of nature.

Cultivating Creeping Phlox: For those eager to welcome Creeping Phlox into their garden sanctuary, success awaits with a few simple guidelines. Choose a well-drained location with ample sunlight, and prepare the soil with organic matter to promote healthy growth. Water regularly, especially during periods of drought, and provide occasional fertilization to encourage robust blooms. With proper care and attention, Creeping Phlox will reward you with a spectacle of color that will endure for years to come.

As we celebrate the beauty and resilience of Creeping Phlox, we invite you to embark on a journey of discovery in your own garden oasis. Embrace the elegance and charm of this botanical treasure, and revel in the transformative power of nature’s wonders. With Creeping Phlox as your guide, your garden will flourish with a tapestry of color and vitality, creating a sanctuary of serenity and splendor for all to enjoy.

Discover the Perennial Epimedium (Barrenwort)!

Discover the Beauty of Epimedium!

Transform your garden into a paradise with the captivating allure of Epimedium, also known as Barrenwort. Renowned for its delicate beauty and resilience, Epimedium is a must-have perennial for any garden enthusiast. Here’s why:

Unrivaled Elegance: Admire the exquisite heart-shaped foliage that adorns Epimedium, creating an enchanting carpet of greenery. In spring, delicate sprays of dainty flowers emerge, adding a touch of ethereal charm to your landscape.

Versatile and Vigorous: Whether gracing shady borders, woodland gardens, or rockeries, Epimedium thrives in a variety of conditions. Its adaptability and vigor make it a standout performer, effortlessly enhancing any outdoor space.

Low-Maintenance Wonder: Say goodbye to high-maintenance plants! Epimedium requires minimal care once established, allowing you to sit back and enjoy its enduring beauty year after year. Perfect for busy gardeners seeking effortless elegance.

Attracts Pollinators: Embrace nature’s symphony as Epimedium beckons butterflies and other pollinators to your garden. Enhance biodiversity and create a haven for beneficial insects with this pollinator-friendly perennial.

Long-lasting Beauty: With its long flowering period and evergreen foliage, Epimedium provides year-round interest, making it a wise investment for any garden landscape. Enjoy its enduring beauty across the seasons.

Visit our nursery and explore our wide selection of Epimedium varieties. From classic favorites to rare cultivars!

Epimedium: Barrenwort Cultivation Guide

To cultivate Epimedium, follow these steps:

  1. Choose the Right Location: Epimedium thrives in partial to full shade and well-drained soil rich in organic matter. Select a spot with dappled sunlight or morning sun and afternoon shade.
  2. Prepare the Soil: Ensure the soil is loose, well-drained, and slightly acidic to neutral pH (around 6.0 to 7.0). Incorporate compost or aged manure to improve soil structure and fertility.
  3. Planting: Plant Epimedium in early spring or fall. Dig a hole twice as wide as the root ball and deep enough to accommodate it. Place the plant in the hole, backfill with soil, and water thoroughly.
  4. Watering: Keep the soil consistently moist but not waterlogged, especially during the plant’s first growing season. Once established, Epimedium is relatively drought-tolerant.
  5. Mulching: Apply a layer of organic mulch, such as shredded bark or compost, around the base of the plant to retain soil moisture and suppress weeds. Maintain a mulch depth of 2-3 inches, but avoid mulch touching the plant’s stems.
  6. Fertilizing: Feed Epimedium with a balanced, slow-release fertilizer in early spring before new growth emerges. Avoid high-nitrogen fertilizers, as they can encourage excessive foliage growth at the expense of flowers.
  7. Pruning: Trim back any dead or damaged foliage in late winter or early spring before new growth appears. This helps promote a tidy appearance and encourages vigorous growth.
  8. Division: Every few years, divide mature clumps of Epimedium to rejuvenate the plant and prevent overcrowding. Dig up the clump, carefully separate the rhizomes, and replant the divisions in prepared soil.
  9. Pest and Disease Control: Epimedium is generally pest and disease-resistant, but occasional issues like aphids or slugs may occur. Monitor plants regularly and treat any infestations promptly with appropriate methods, such as insecticidal soap or handpicking.
  10. Winter Care: Epimedium is winter-hardy in most climates, but providing a layer of winter mulch can offer additional protection in colder regions. Avoid excessive moisture around the roots during winter to prevent rot.

By following these cultivation guidelines, you can enjoy healthy, thriving Epimedium plants in your garden year after year.

Getting More Harvest out of Small Spaces!

Getting More Harvest out of Small Spaces!

Growing more food in less space is so easy to do with a little bit of planning! Take time to think out what you would like to grow (i.e., what your family eats most of) and then create yourself a calendar of what and when you are sowing or planting out seedlings. Follow these tips and tricks so you can grow more tasty food in less space which usually means less effort too!

A good foundation for a bountiful harvest starts with good nutrient rich soil. Vegetable crops are heavy feeders and will produce less if they are lacking in nutrients. We recommend topping garden beds with Bumper Crop yearly or incorporating the compost in at time of planting seedlings. Extra heavy feeders such as Tomatoes will also benefit from a monthly application of organic Tomato-tone or Garden-tone.

  1. Spacing is one old rule that should be thrown out the window. Seed packets often talk about rows and while this is useful with big gardens it’s a waste of space in small gardens or raised beds. It is much more space efficient to plant in “bed” formations and skip l rows. Also, when seed packets recommend a certain spacing it is referring to on center planting. For example, if they suggest 8” spacing that really means the plant needs 4” on each side. So, while you may be placing a plant and then measuring 8” until you plant the next really you should be measuring just 4”. By following on center planting this immediately gets you double the number of plants! Close spacing is also helpful since the plants will shade the soil which is healthier for the soil but also will help the soil retain more moisture.
  2. Intercropping is the act of cultivating different crops in the same space at the same time, a great example is: growing peas on a teepee while lettuce can be grown in the center and will enjoy the shade in the hotter months. Other great examples include tucking in basil around tomatoes, carrots with lettuce or onions among your cabbage. Intercropping can also help prevent pests since the different scents of plants mixed together make it harder to find the plant they want to attack!
  3. Succession planting is another important practice when growing more food in less space. It usually takes a little bit of planning but is the key to ensuring an abundant harvest from a small garden. With succession planting, you enjoy multiple harvests from a single patch of ground in any given growing season. This is done by planting one crop immediately after an earlier crop has finished to keep the harvests coming. In March through May we can grow cool season crops then as they finish transition to warm season crops and then in fall switch back to cool season crops.
  4. Season Extenders are cold frames, row covers, and hot beds to allow your garden to produce earlier and later into the season therefore allowing you to grow more in your small space. Cold frames can be purchased or thrifted by using old windows. Row covers can be lighter weight fabric or heavy-duty plastic. Hotbeds are warm growing environments created using the heat that’s given off during the decomposition of organic matter such as manure.A quick YouTube search will help you build your own!
  5. Growing Vertically is a fabulous way to get more vegetables out of a small garden! By utilizing Trellises, Teepees, Stakes and Arbors you can train vegetables such as Pole Beans, Peas, Cucumbers, Tomatoes, Squash and Melons vertically. This allows you to plant more around the bases of these vegetables. Think out of the box, even zucchini can be trained to grow more vertically with a tomato cage!
  6. Varieties of vegetables you grow can also impact your harvest size. While heirloom vegetables tend to have more flavor, they typically won’t produce as big of harvests compared to hybrid vegetables. It can also be helpful to choose dwarf varieties so that you can fit more vegetables into your small garden. When choosing seeds also take a look at days to maturity, when possible, pick faster maturing varieties so that you can have more succession planting!
  7. Regular harvesting can help to encourage more growth and higher yields. Many vegetables especially beans and peas will stop forming new flowers if pods are left too long on the plant. Even tomatoes and peppers benefit from regular harvesting because taking off the fruit or vegetable allows the plant to direct its’s energy into producing more. Be sure to harvest your crops as soon as they are ready to prevent them from becoming overripe or spoiling.