The Ultimate Fall Lawn Care Guide: Get Your Grass Ready for Next Year
Guys, let’s face it—your lawn is a point of pride. As fall rolls in, now’s the time to get your yard in shape so it can bounce back even better come spring. A few solid weekends of work will pay off with thick, green grass next year. At [Your Garden Center Name], we’ve got the gear and tips you need to make it happen, from the best grass seed to tools that get the job done.
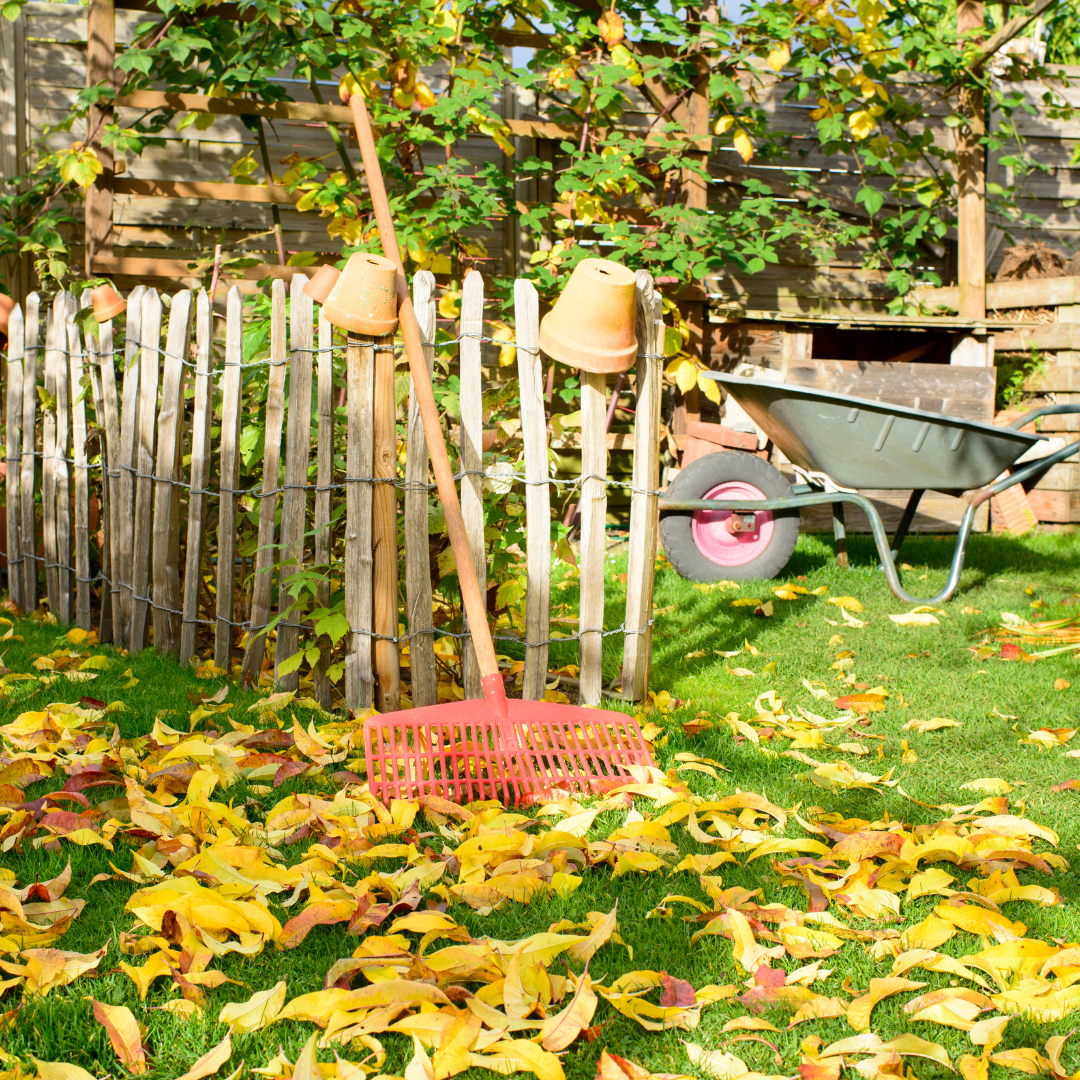
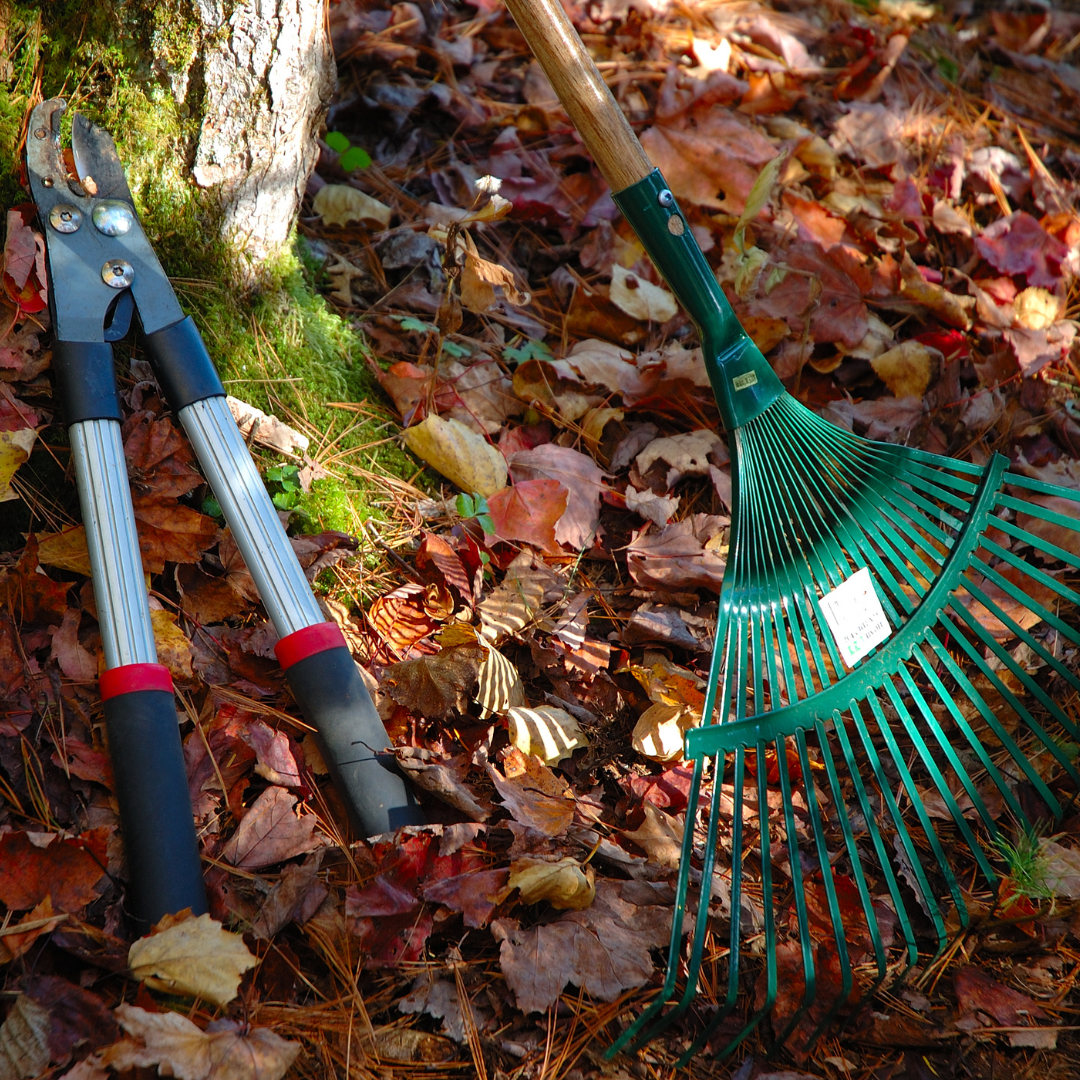
1. Clean Up the Yard
Before you do anything, you’ve got to clear out the debris. Leaves, twigs, and dead grass sitting on your lawn will suffocate your turf and invite disease.
- Lawn Rakes and Leaf Blowers: Whether you’re the old-school rake type or prefer a leaf blower, clearing the lawn is step one. Get the bulk of the debris off the grass to let your lawn breathe.
2. Aerate Like a Pro
After a summer of mowing, playing, and heavy foot traffic, your soil can get compacted. Aeration allows air, water, and nutrients to penetrate the soil, creating better conditions for strong grass growth.
- Lawn Aerators: If you don’t have an aerator, rent one or use a manual aeration tool. Just poke holes all over the lawn, and you’re setting up the perfect environment for fresh seed and fertilizer.
3. Reseed Your Lawn
Fall is the best time to overseed your lawn, and nothing beats Jonathan Green Grass Seed when it comes to getting that perfect, thick lawn. Whether you’re filling in bare spots or doing a full overseed, here’s what you need to know:
- Jonathan Green Black Beauty Ultra: This top-tier blend is designed to produce deep roots, drought tolerance, and disease resistance. It thrives in sun or shade and gives you that rich, dark green color every guy wants.
- Jonathan Green Fast Grow: Got some bare patches? This seed mix is ideal for quick fill-ins. You’ll see new grass popping up in just days—perfect if you need fast results.
- Spreaders: A good broadcast or drop spreader is key for getting even coverage. We carry spreaders that make reseeding and fertilizing a breeze.
4. Feed Your Lawn
After seeding, you’ve got to feed it. Fall fertilizing strengthens your grass’s roots and gives it the nutrients to survive the winter and come back strong in the spring.
- Jonathan Green Winter Survival Fall Fertilizer: This is the ultimate fall fertilizer. It delivers a slow release of nitrogen to help grass grow deep roots now and store energy for next season. It’s a must if you want your lawn to look great after winter.
- Osmocote Lawn Fertilizer: Another solid option for long-term feeding, Osmocote gives a steady dose of nutrients over time, ensuring your lawn has what it needs all season long.
5. Control Weeds and Pests
Fall is also a great time to tackle any lingering weeds or pests so they don’t cause problems next year.
- Bonide Weed Beater Ultra: This selective herbicide targets broadleaf weeds like dandelions, clover, and plantain without harming your grass. Spray it now, and you’ll have fewer weeds to deal with in spring.
- Bonide Insect Control Granules: Fall can bring pests like grubs that munch on your lawn’s roots. Spread these insect control granules, and you’ll stop them from doing damage before they dig in for the winter.
6. Keep It Hydrated
Just because the weather’s cooling off doesn’t mean your lawn doesn’t need water. Keep watering regularly until the ground freezes to help new seeds establish and give your lawn the moisture it needs to get through winter.
- Sprinklers and Timers: Make watering easy with our selection of sprinklers and timers. Set it and forget it, and your lawn will get the consistent water it needs.
7. Finish with a Mow
As fall winds down, don’t put the mower away just yet. Keep your grass at around 2.5-3 inches for the final mow. This height helps prevent disease and protects your lawn from snow mold over the winter.
By following these steps, your lawn will be in top shape for next year. At [Your Garden Center Name], we’ve got everything you need to tackle fall lawn care with confidence. Stop in, grab your gear, and let’s get that lawn looking its best!
 preventing insects from coming inside with your plants. Just mix it into the soil before you bring your plants indoors. It provides long-lasting protection against a variety of pests, including aphids, whiteflies, and spider mites.
 leaves and stems. It smothers bugs on contact and acts as a deterrent for futureinfestations. Use it as a foliar spray to keep your plants clean and pest-free.
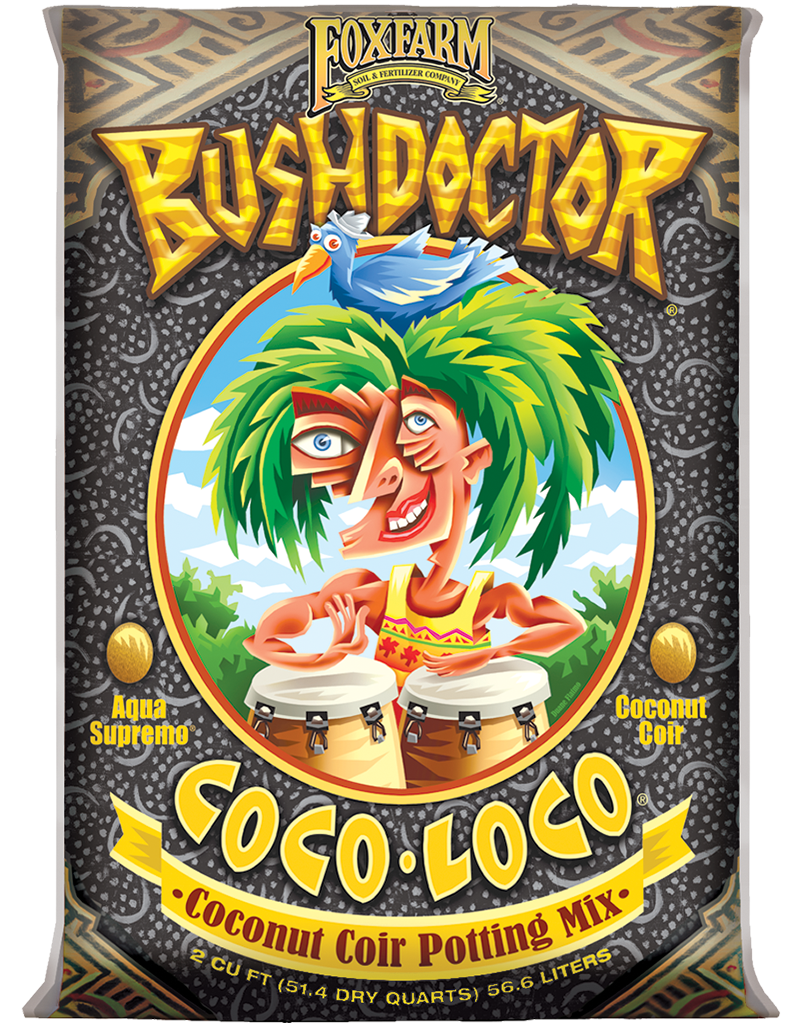 Coco Loco Potting Soil by FoxFarm: If your plants need a larger home, our premium Coco Loco potting soil is the best choice for healthy root growth and moisture retention. This mixis perfect for tropical and houseplants alike, offering the right balance of aeration and nutrients.
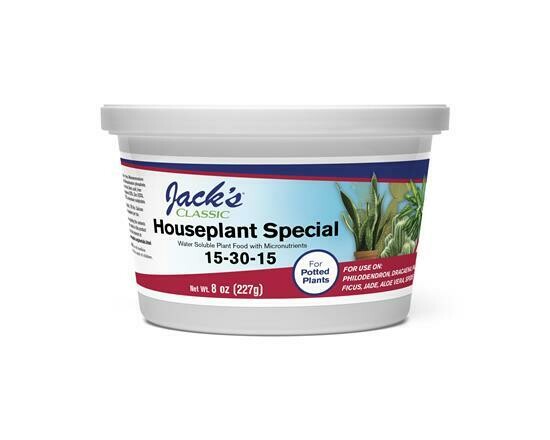 Jack’s Houseplant Special Liquid Fertilizer: This is our go-to liquid fertilizer forhouseplants. It provides an instant dose of essential nutrients to keep leaves green andgrowth steady. Use it every couple of weeks to maintain strong, healthy plants.
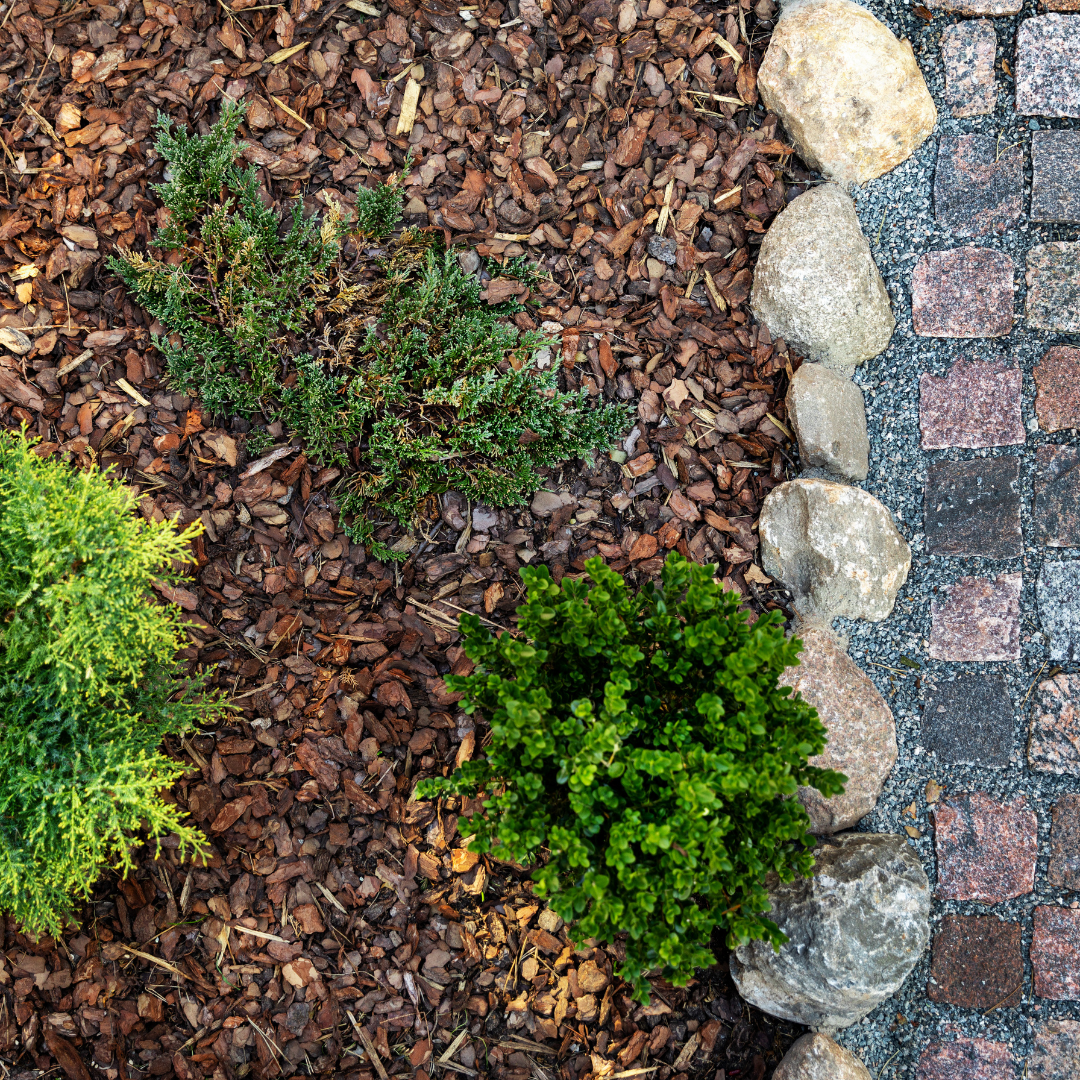
 The Benefits of Pine Bark Mulch: The Right Choice for Your Garden
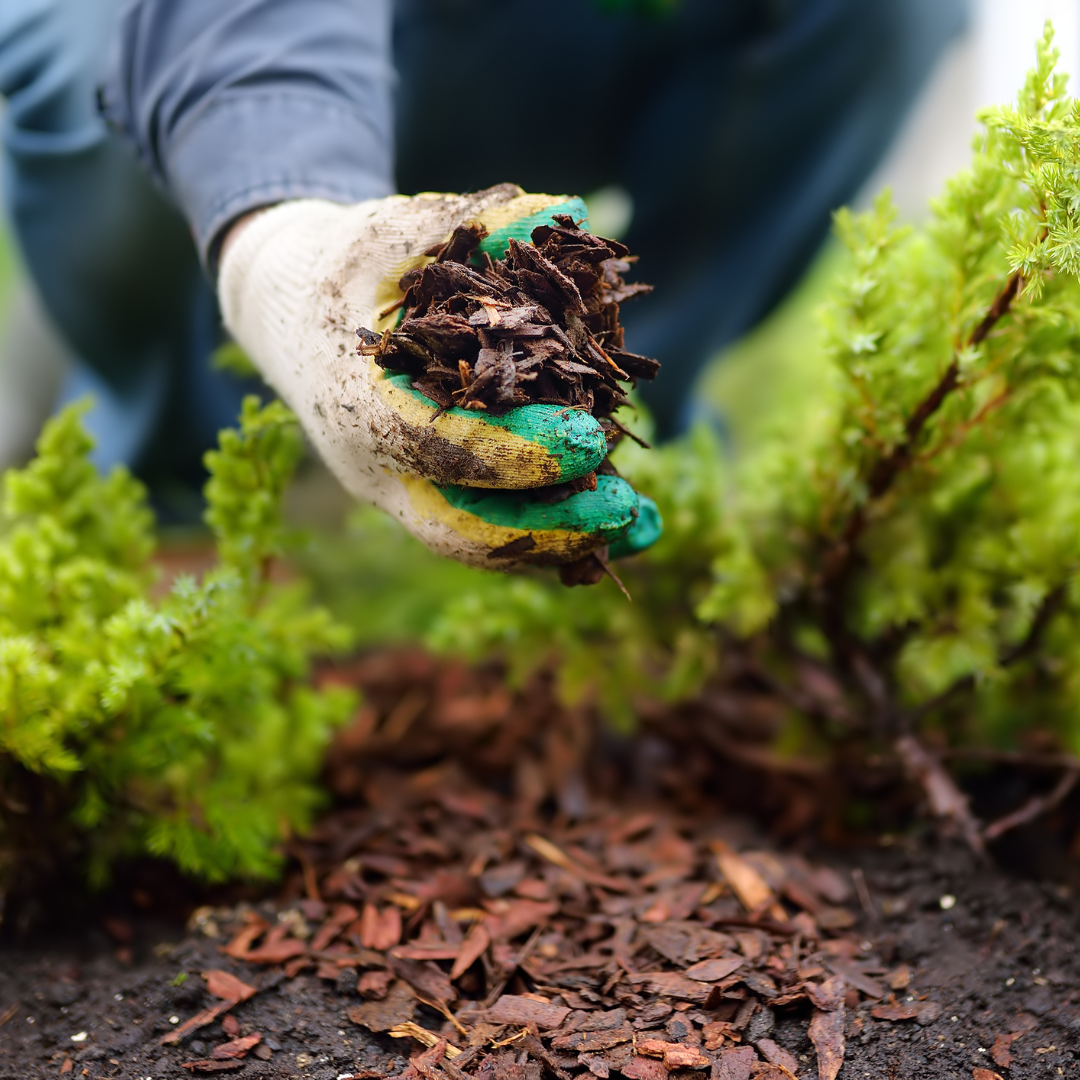
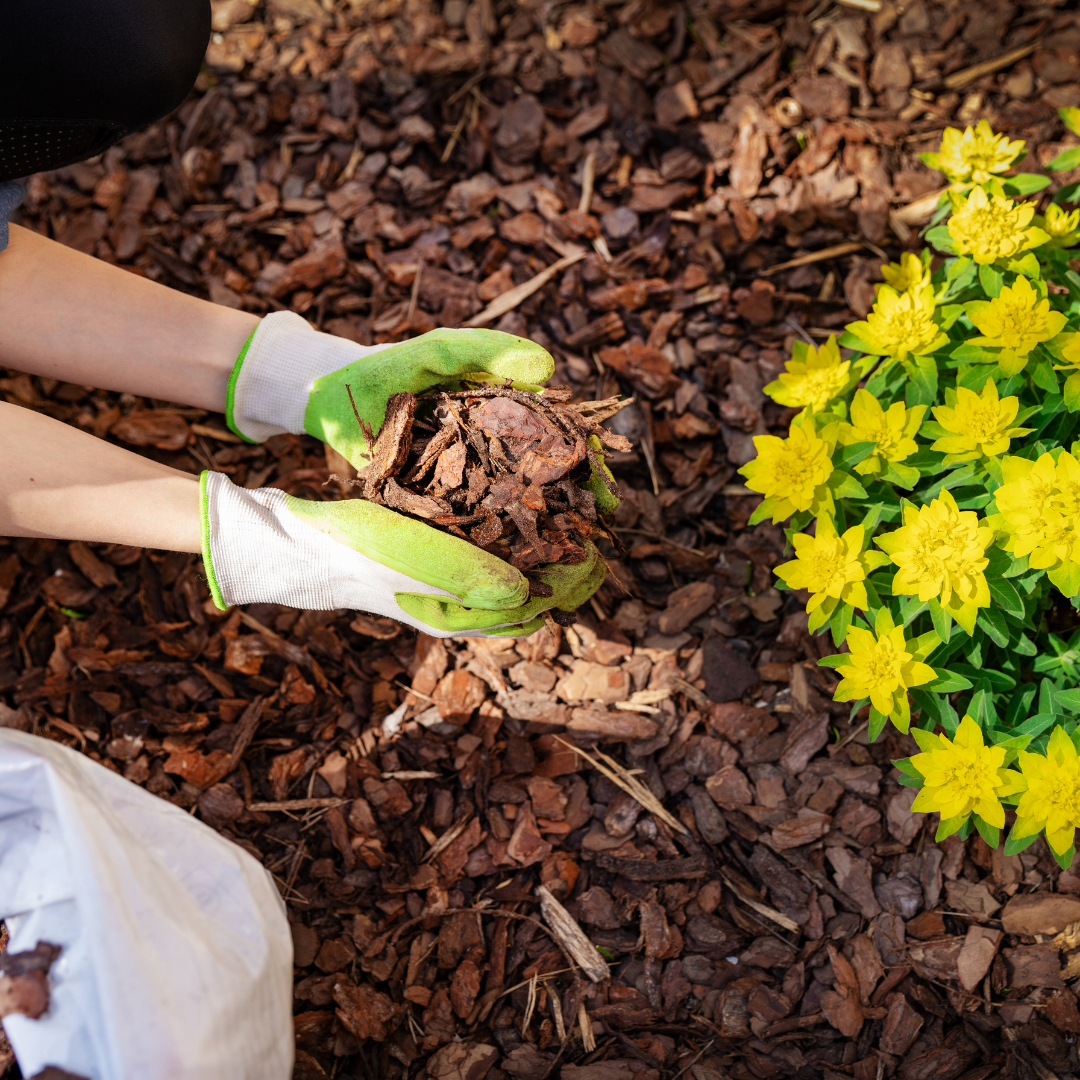
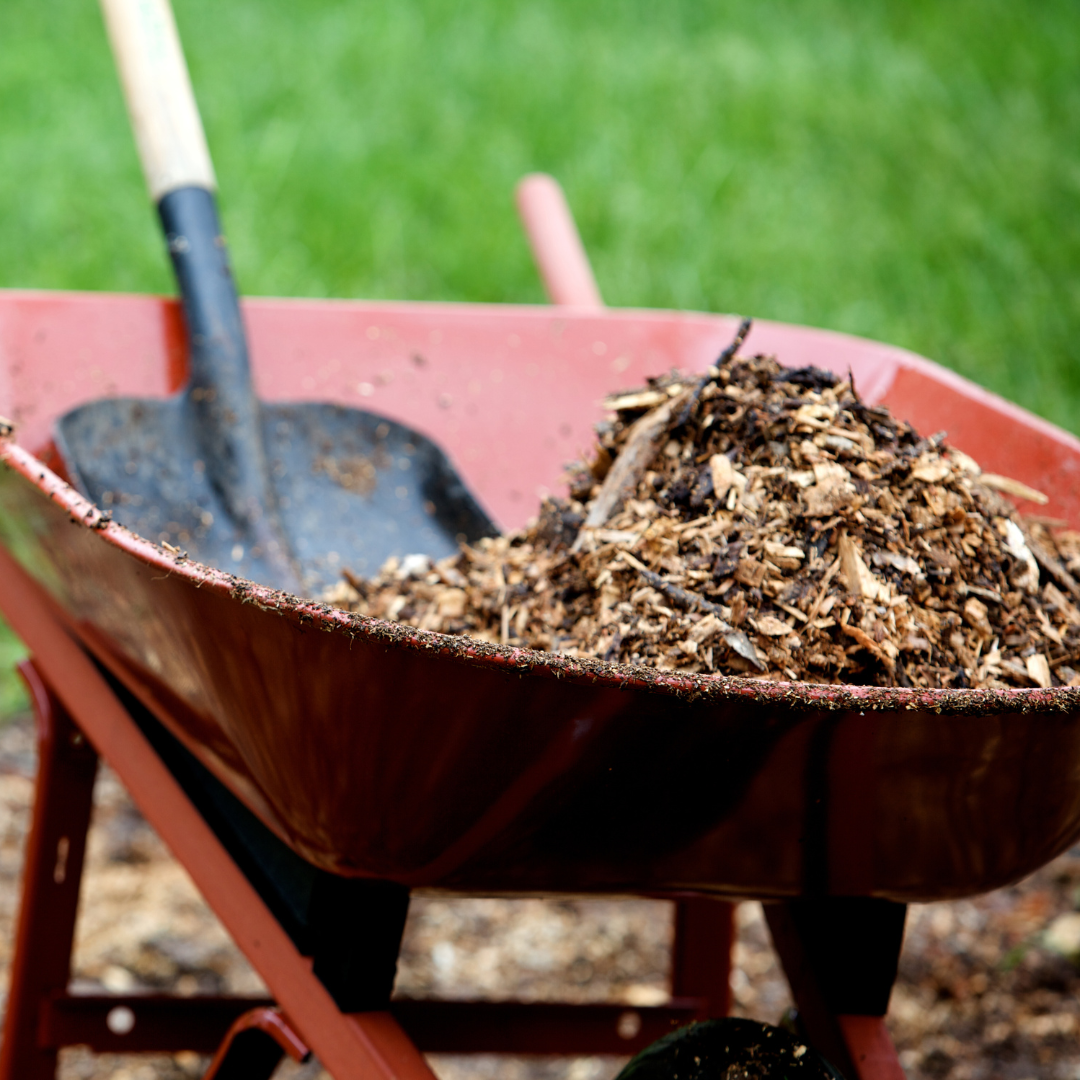 In contrast, shredded hardwood mulch tends to mat down and compact over time, which can hinder water infiltration and reduce soil aeration. Compacted mulch can lead to poor drainage, waterlogged soil, and root rot, all of which can negatively impact plant health. Dyed mulches, often made from finely ground wood, may have similar issues with compaction and poor drainage, in addition to the potential negative effects of the dyes used.
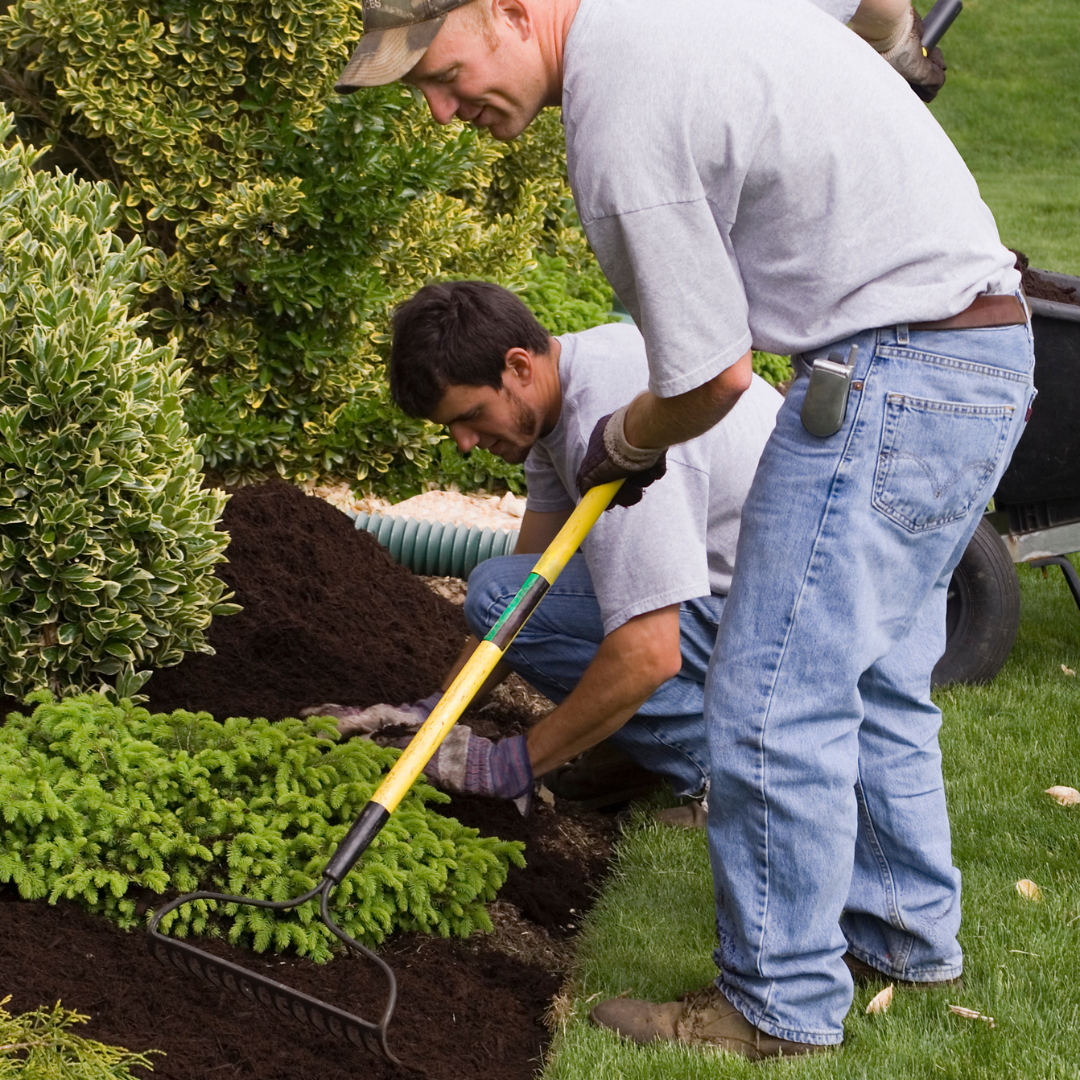

 and debris from your garden beds. This is especially important if you’ve had any disease or pest issues during the summer, as removing infected plant material can help prevent problems from carrying over into the next year. Compost healthy plant material to add back nutrients to your garden, but dispose of any diseased plants.